Bike Drawing: Free Printable & Easy Step-by-Step
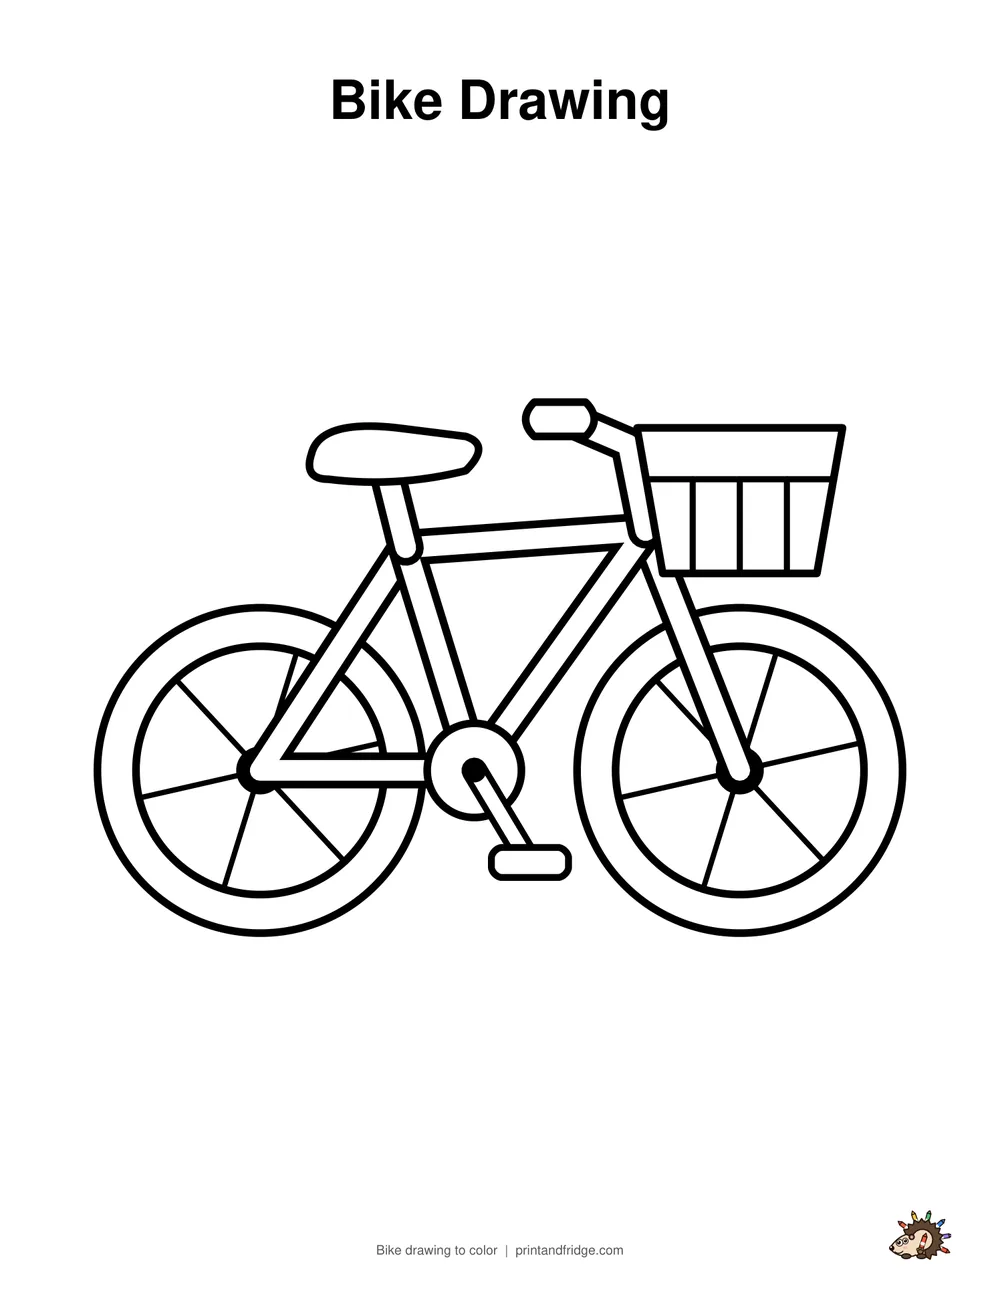
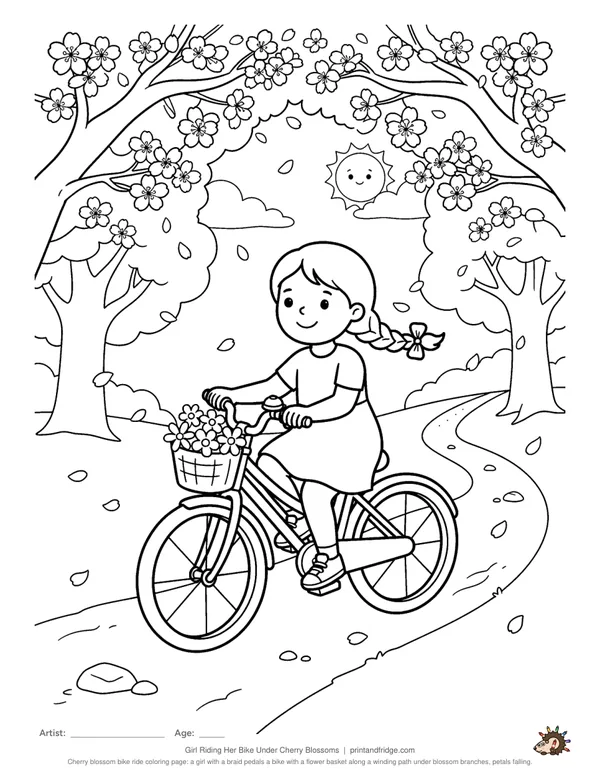
Need a bike drawing to print? Download the one below for free, ready to color, trace or copy. Want to draw it yourself? A bicycle is two circles and a triangle at heart. Follow these steps to draw a bike with spokes, pedals, a seat and a front basket, then print the free worksheet.
- Printable
- 2-page PDF: the drawing to color + all 6 steps and a colored example on one page (US Letter / A4)
- Worksheet
- 3-page PDF: all steps, a tracing page and a coloring page
- You need
- Pencil, eraser, crayons or markers
- Ages
- 5 and up
More bike drawings to print and color
How to Draw a Bike: step-by-step instructions
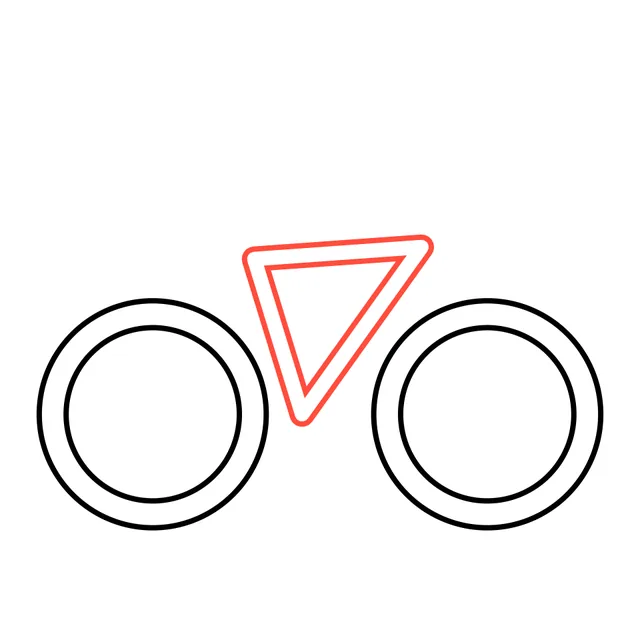
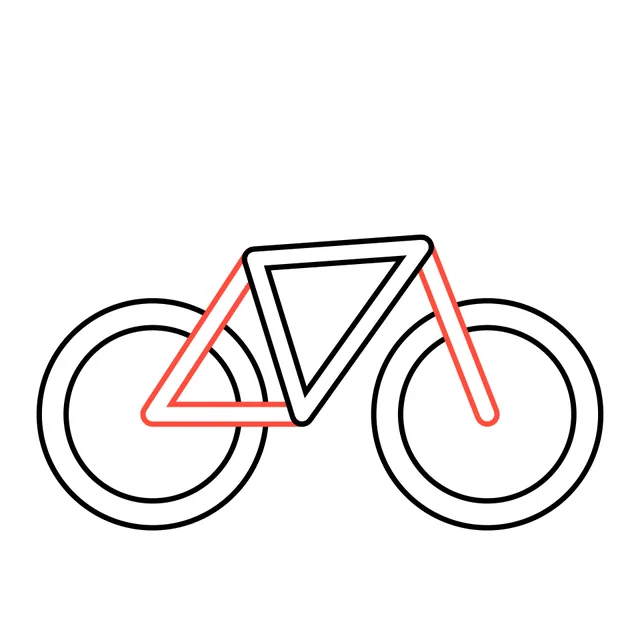
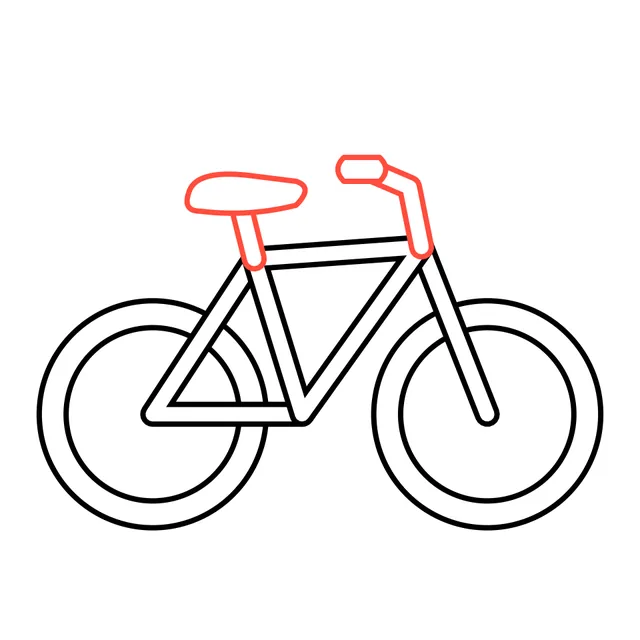
The new lines in each step are shown in red.
-

Step 1
Draw two big wheels side by side. Draw a smaller circle inside each one to make the tires.
-
Step 2
Draw a triangle between the wheels: one line up to the seat, one across to the front and one back down.
-
Step 3
Connect the back wheel to the triangle with two lines, and draw the front fork down to the front wheel.
-
Step 4
Draw a seat on a short post and handlebars with a grip.
-
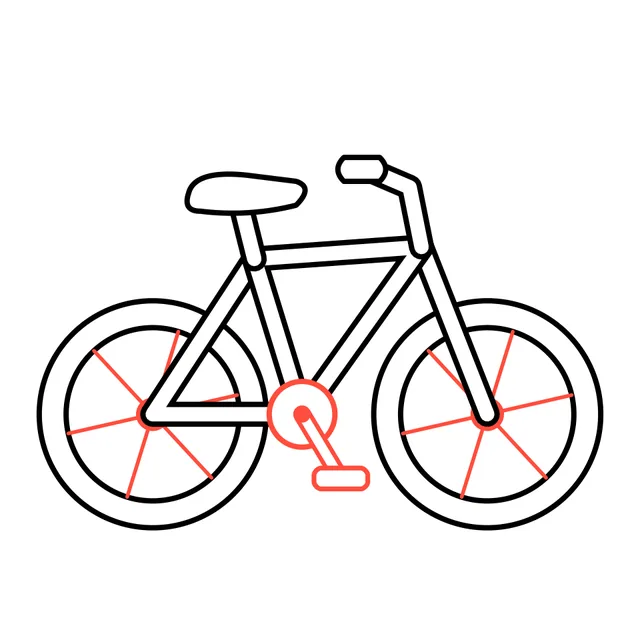
Step 5
Add spokes in the wheels and draw the pedal with its round gear in the middle.
-
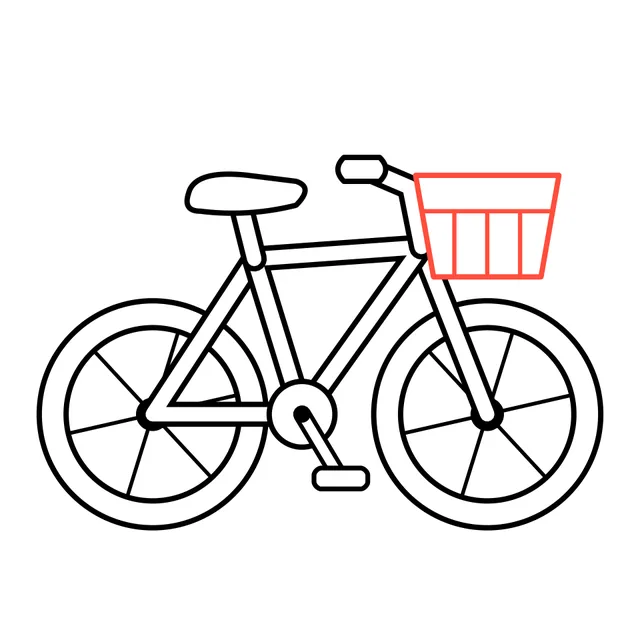
Step 6
Hang a basket on the front of the bike. Ring ring, it's ready to color!
-
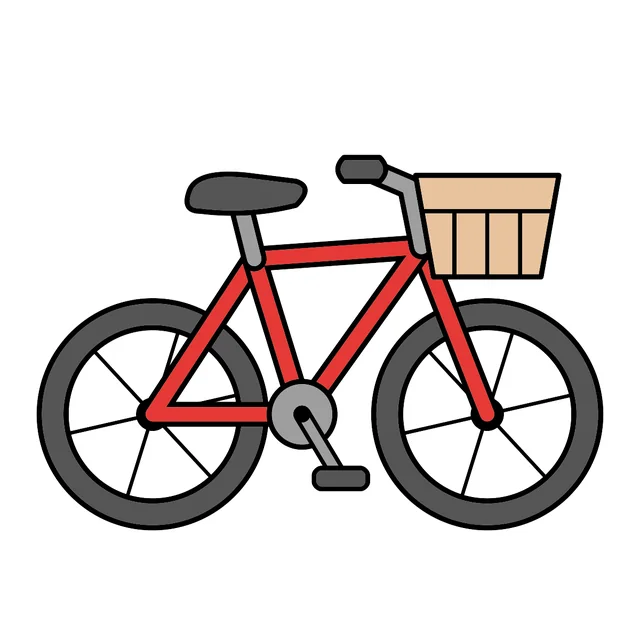
Now color it!
Color the frame red and the tires dark gray. The seat and the grips are black or brown, the gear and the pedal are gray and the basket is tan like a wicker basket. Leave the spaces between the spokes white.
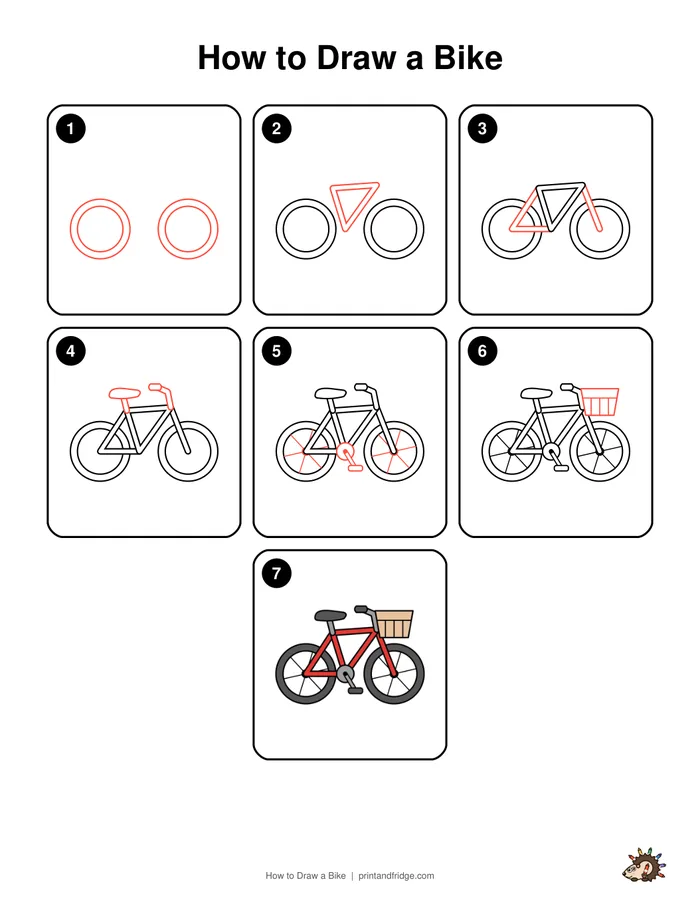
Free printable drawing worksheet
Print all the steps on one page, then practice on the tracing sheet and finish with the coloring page. Perfect for art class, homeschool or a rainy afternoon.
Download the worksheetTips for a better bike drawing
- Trace a cup or a jar lid to make both wheels the same size.
- The frame is a triangle: draw it before the other bars so the bike looks strong.
- Keep the spokes simple: six straight lines from the middle are enough.
4 ways to make your bike drawing unique
- Put flowers or a teddy in the basket.
- Add a bell, a light or streamers on the handlebars.
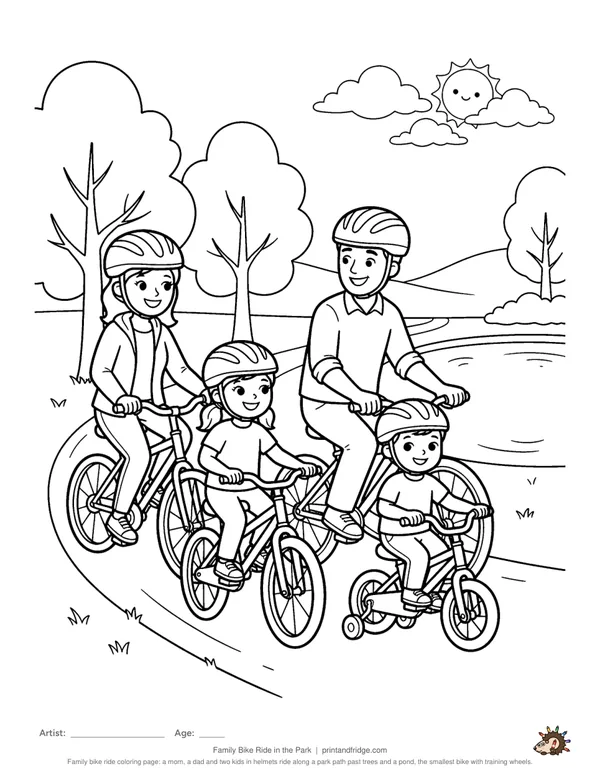
- Draw a bike path with trees around it.
- Turn it into a tandem bike with two seats.
Coloring your bike drawing
Once your drawing is finished, go over the pencil lines with a black marker or fine-liner and erase any leftover pencil. Then grab crayons, colored pencils or markers. Start with the biggest areas first and finish with the small details. Not sure which colors to use? Look at the colored example under the last step: it also prints on the steps page of the PDF. Not in the mood to draw? Print our ready-made bike drawing at the top of this page and jump straight to coloring.
Fun facts about bikes
- The word bicycle means two wheels.
- The first bikes, built in the early 1800s, had no pedals: riders pushed the ground with their feet.
Your bike drawing is complete!
Great job! Every time you practice, your lines get smoother and your shapes more confident, so try drawing it again from memory tomorrow. Print the free worksheet to practice with the tracing page, and check out our other easy drawing guides below.
More drawing guides