Bow Drawing: Free Printable & Easy Step-by-Step
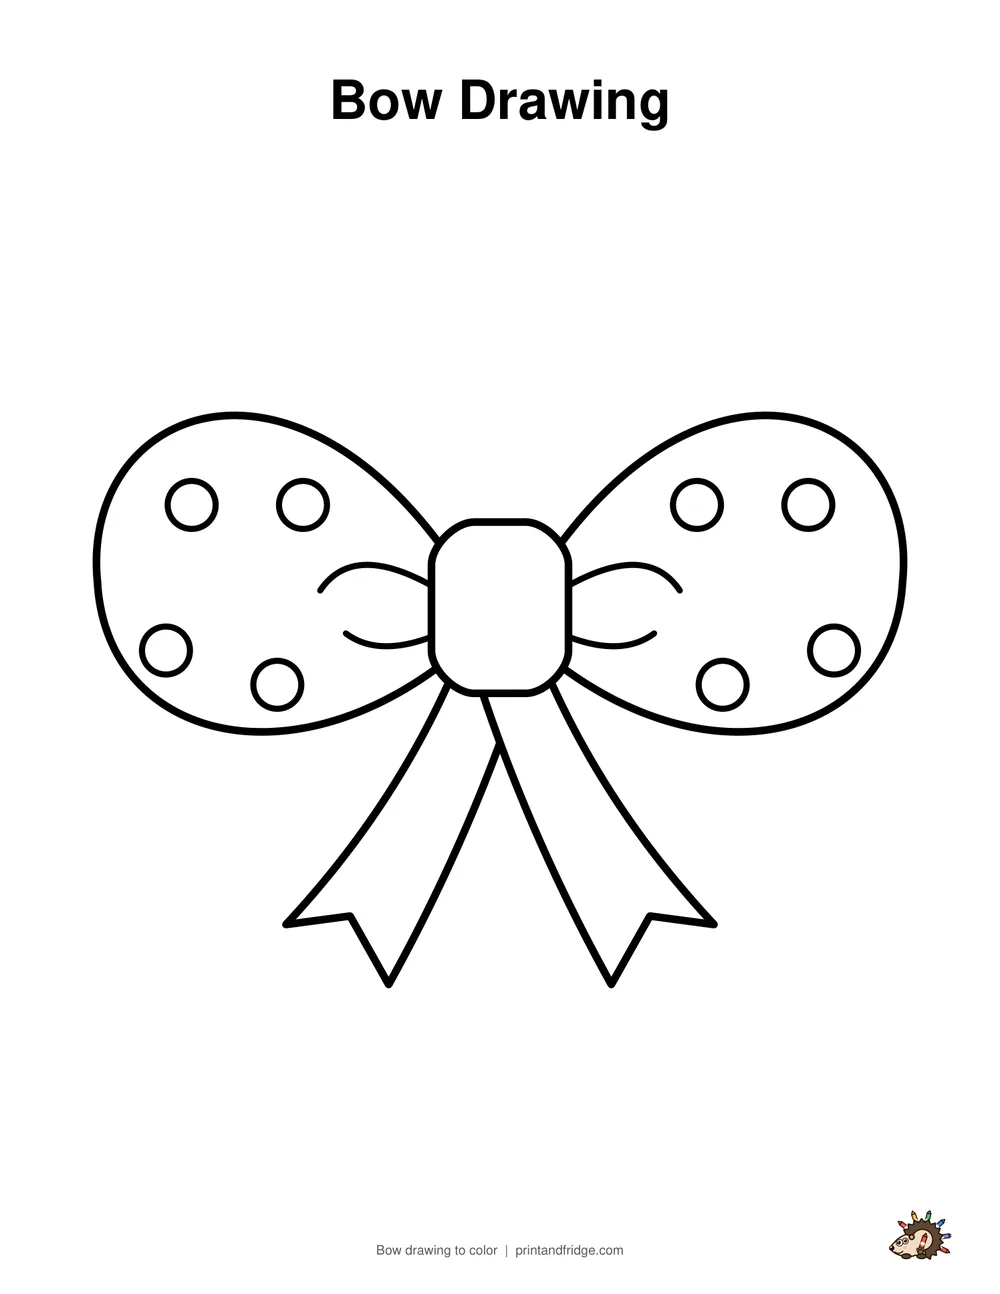
Need a bow drawing to print? Download the one below for free, ready to color, trace or copy. Want to draw it yourself? A ribbon bow is just a knot, two loops and two tails. Draw this cute polka-dot bow for gift tags, birthday cards or a hair bow doodle, then print the free worksheet to practice.
- Printable
- 2-page PDF: the drawing to color + all 6 steps and a colored example on one page (US Letter / A4)
- Worksheet
- 3-page PDF: all steps, a tracing page and a coloring page
- You need
- Pencil, eraser, crayons or markers
- Ages
- 5 and up
More bow drawings to print and color
All birthday coloring pages →


How to Draw a Bow: step-by-step instructions
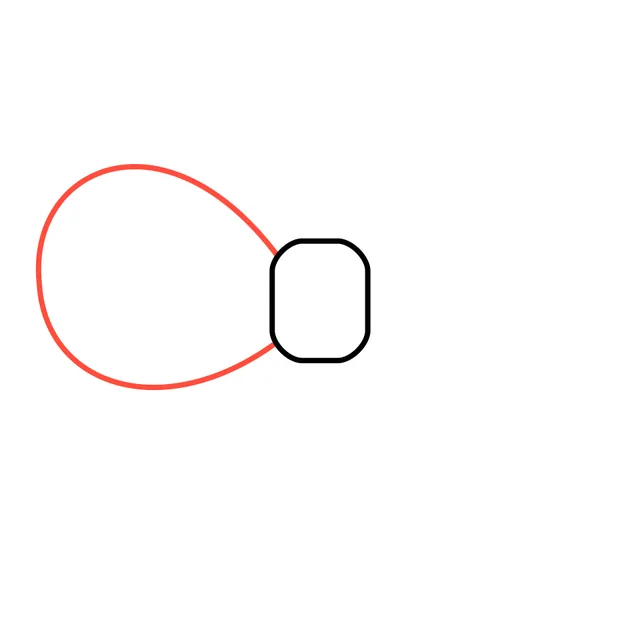
The new lines in each step are shown in red.
-

Step 1
Draw a small rounded rectangle in the middle of the page. This is the knot that holds the bow together.
-
Step 2
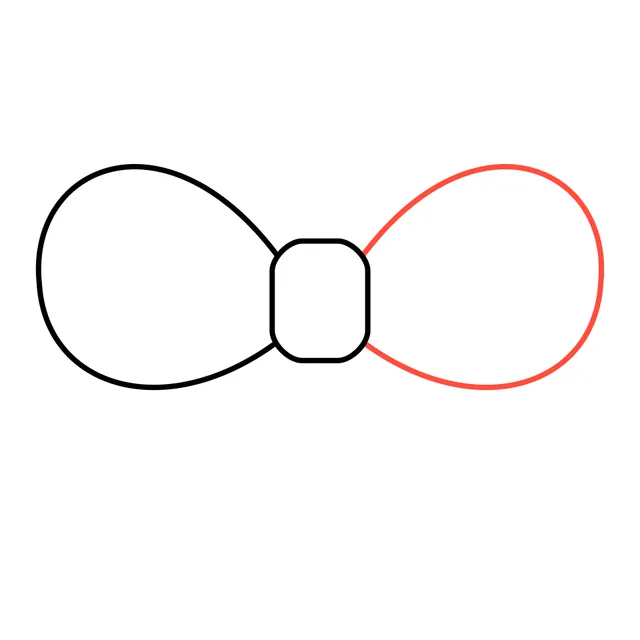
Draw a big loop on the left side of the knot. It looks like a rounded triangle lying on its side.
-
Step 3
Draw a matching loop on the right side, so the bow looks the same on both sides.
-
Step 4
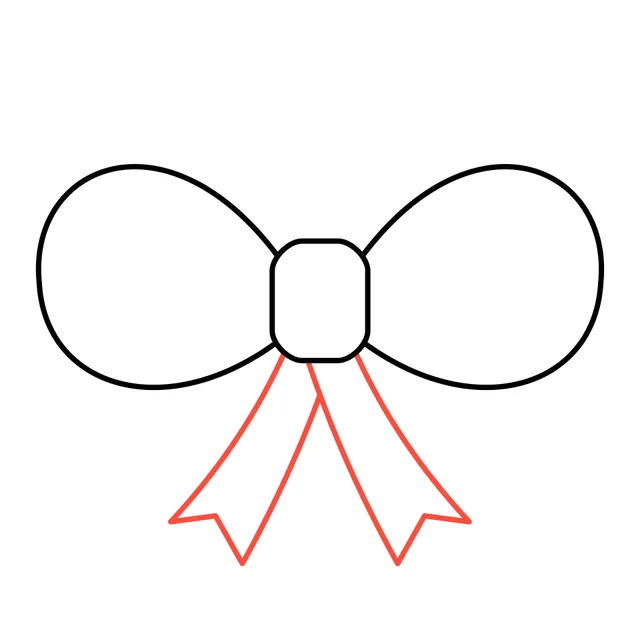
Add two ribbon tails hanging down from the knot. Cut a little V into the end of each tail.
-
Step 5
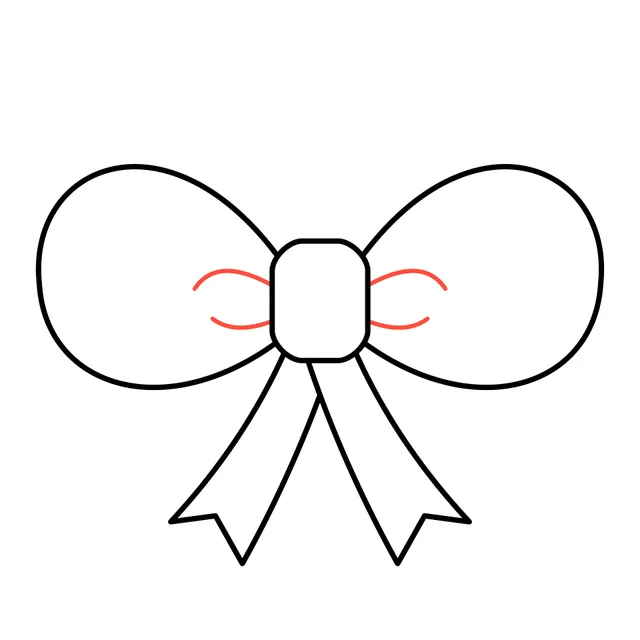
Draw two short curved lines inside each loop, next to the knot. They show where the ribbon folds.
-
Step 6
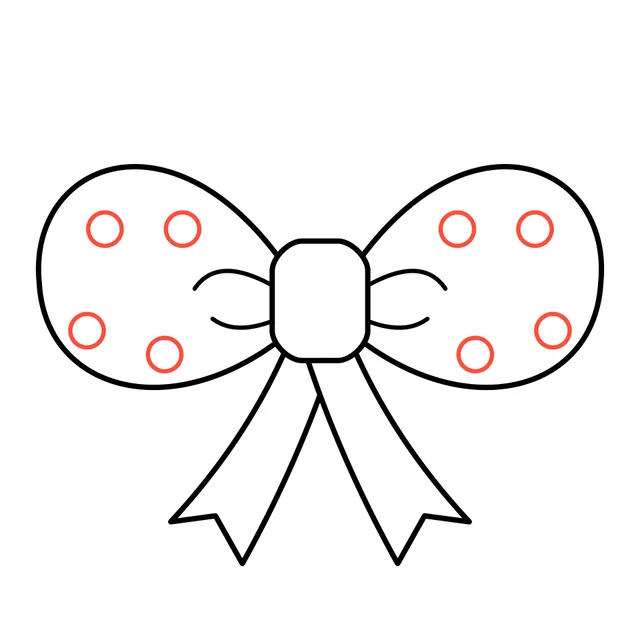
Decorate the loops with polka dots. Your pretty bow is ready to color!
-
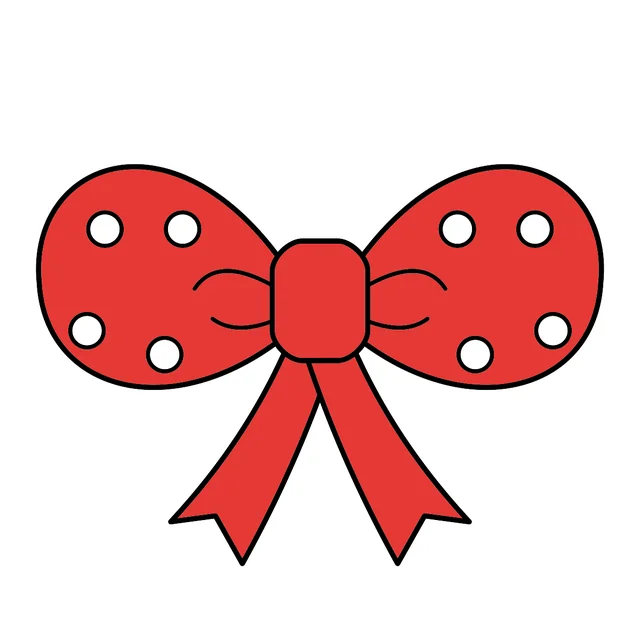
Now color it!
Color the whole ribbon bright red, the knot and the tails too, and leave the polka dots white. A pink bow with white dots, or a gold bow for a present, looks lovely as well.
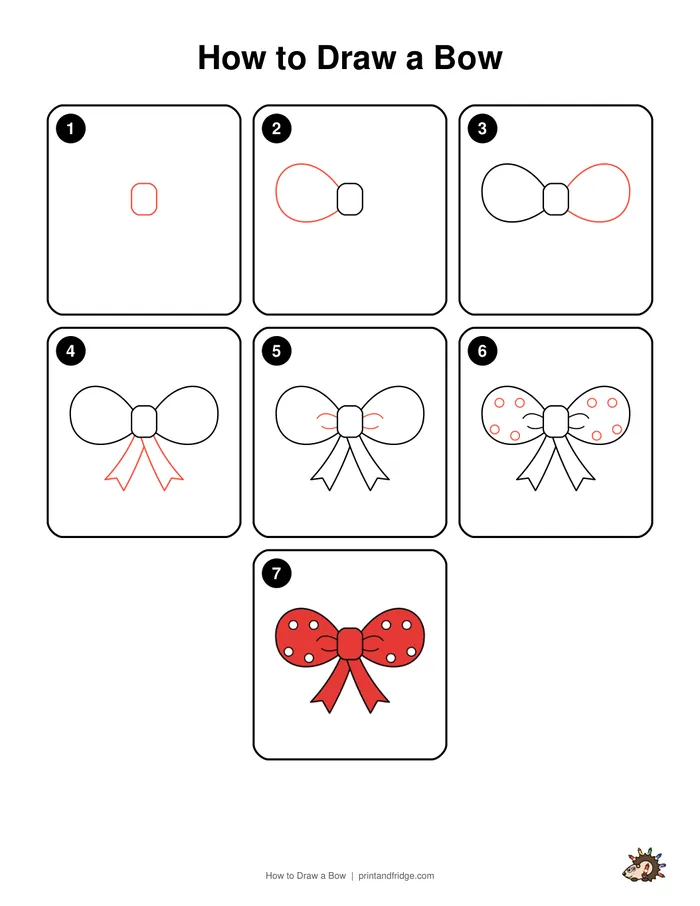
Free printable drawing worksheet
Print all the steps on one page, then practice on the tracing sheet and finish with the coloring page. Perfect for art class, homeschool or a rainy afternoon.
Download the worksheetTips for a better bow drawing
- Draw the knot first and keep it small: the loops look bigger next to a little knot.
- Make both loops the same size by drawing one, then copying its curve on the other side.
- Let the tails point out a little, like an upside-down V, so the bow does not look stiff.
4 ways to make your bow drawing unique
- Put your bow on top of a wrapped present.
- Draw the bow on a ponytail or a headband.
- Swap the polka dots for stripes, hearts or tiny stars.
- Draw a row of bows to decorate a birthday card.
Coloring your bow drawing
Once your drawing is finished, go over the pencil lines with a black marker or fine-liner and erase any leftover pencil. Then grab crayons, colored pencils or markers. Start with the biggest areas first and finish with the small details. Not sure which colors to use? Look at the colored example under the last step: it also prints on the steps page of the PDF. Not in the mood to draw? Print our ready-made bow drawing at the top of this page and jump straight to coloring.
Fun facts about bows
- The bow you tie on a present is the same knot you use to tie your shoelaces.
- Shiny ribbons are often made of satin, a smooth and glossy fabric.
Your bow drawing is complete!
Great job! Every time you practice, your lines get smoother and your shapes more confident, so try drawing it again from memory tomorrow. Print the free worksheet to practice with the tracing page, and check out our other easy drawing guides below.
More drawing guides