Snowflake Drawing: Free Printable & Easy Step-by-Step
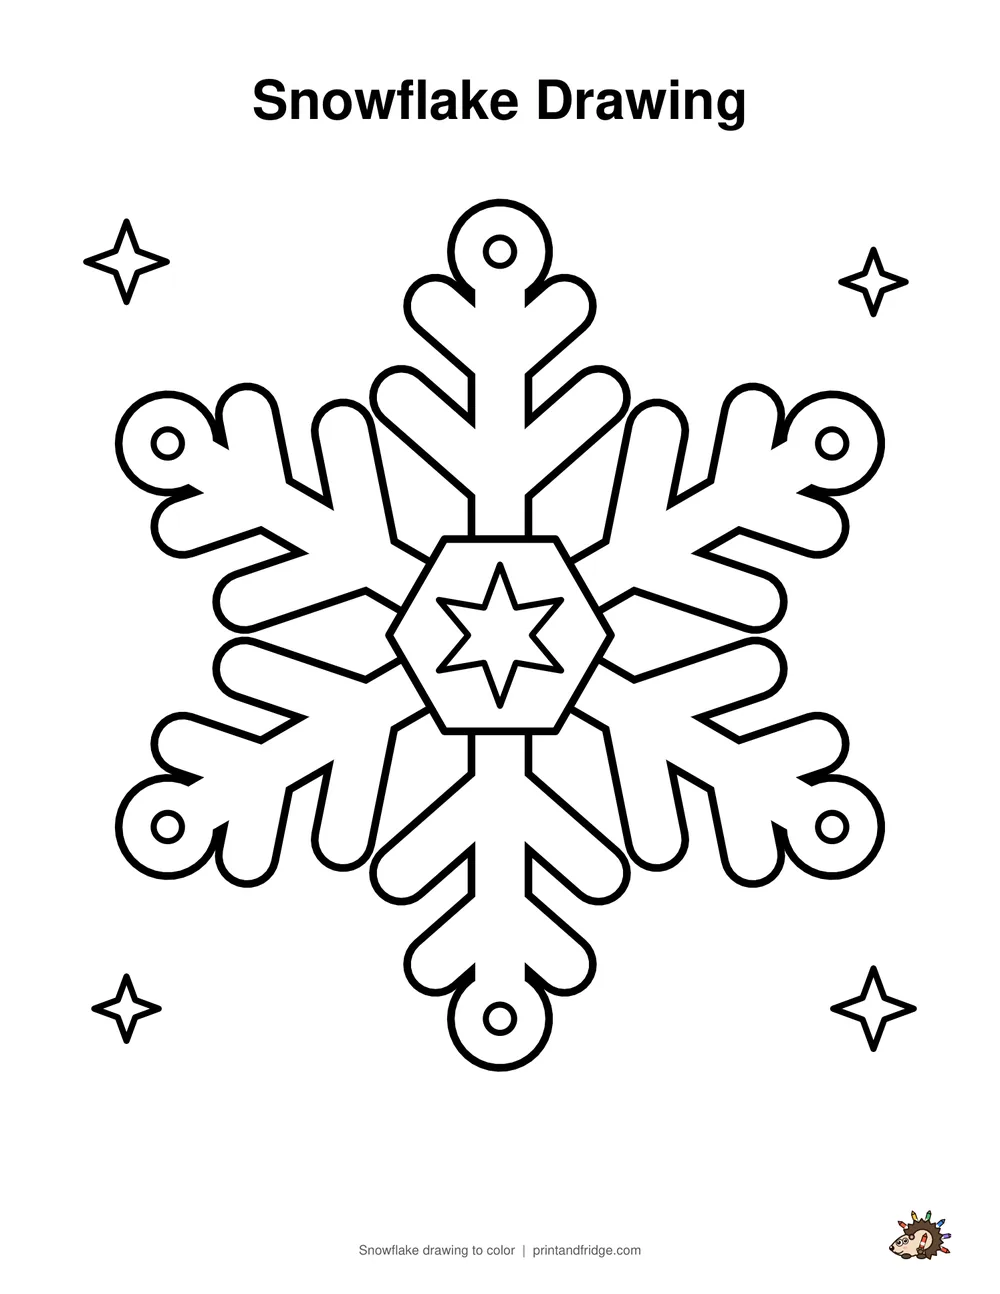
Need a snowflake drawing to print? Download the one below for free, ready to color, trace or copy. Want to draw it yourself? Every snowflake has six arms, and that is the secret to drawing one. Start with a hexagon, add six matching arms with little V branches, and print the free worksheet for a frosty art break.
- Printable
- 2-page PDF: the drawing to color + all 6 steps and a colored example on one page (US Letter / A4)
- Worksheet
- 3-page PDF: all steps, a tracing page and a coloring page
- You need
- Pencil, eraser, crayons or markers
- Ages
- 5 and up
More snowflake drawings to print and color
All snowflake coloring pages →


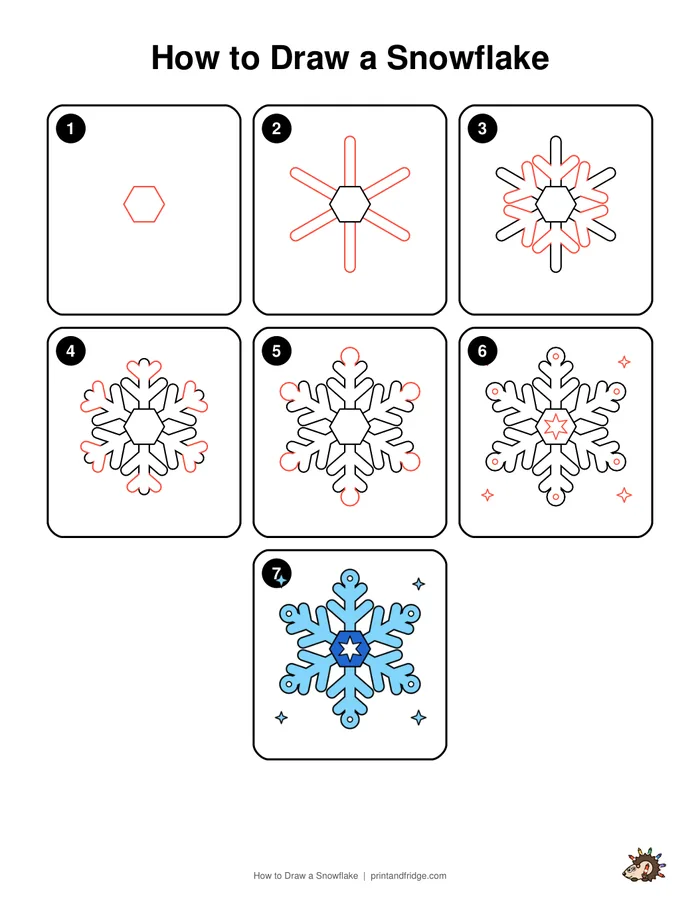
How to Draw a Snowflake: step-by-step instructions
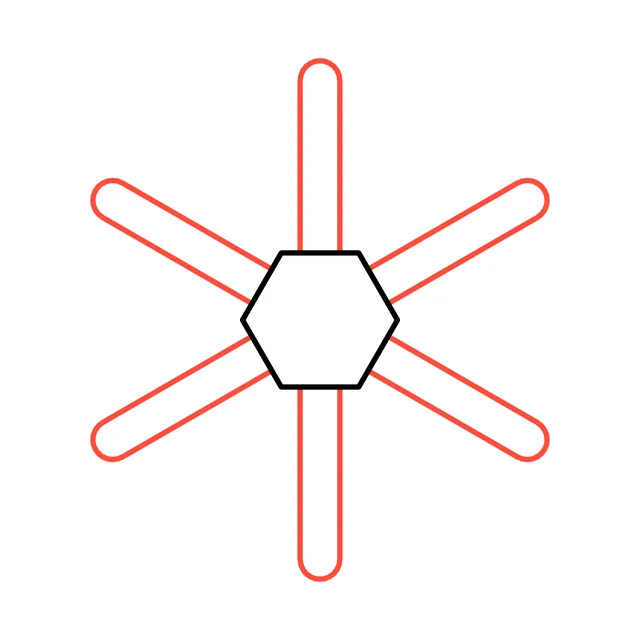
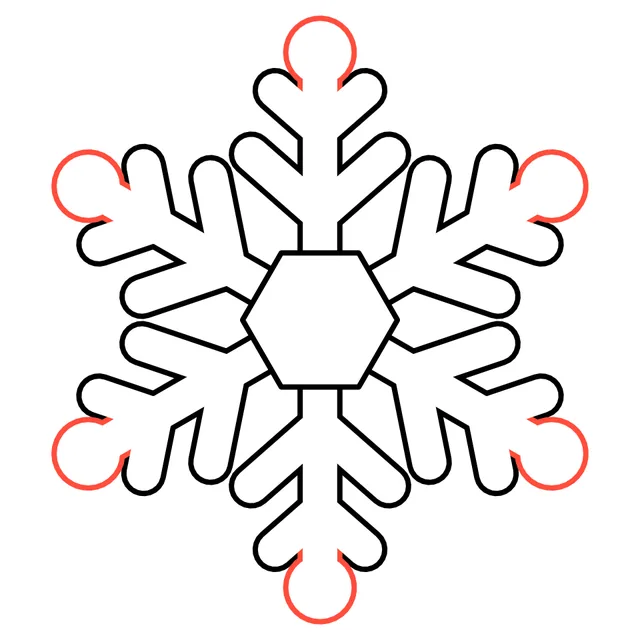
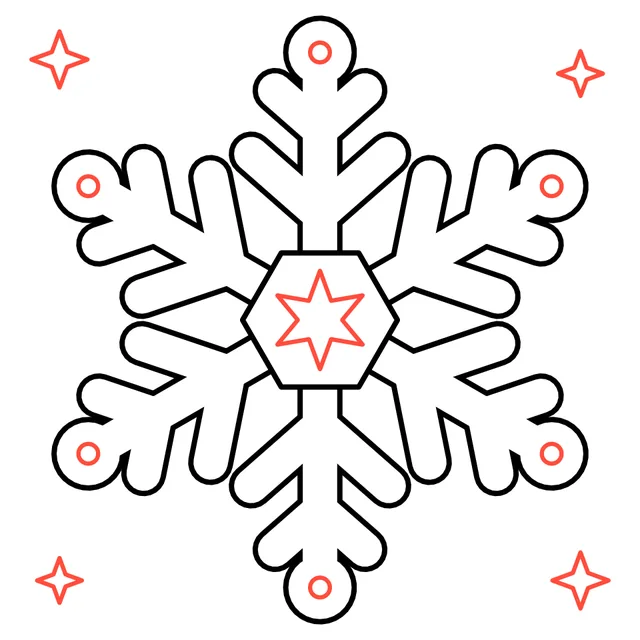
The new lines in each step are shown in red.
-

Step 1
Draw a small hexagon in the middle of the page. A hexagon is a shape with six sides.
-
Step 2
From each side of the hexagon, draw a long, thick arm going straight out. You get six arms, like a star.
-

Step 3
On every arm, close to the middle, add a big V-shaped branch that points outward.
-

Step 4
Add a smaller V near the end of each arm. Make all six arms match.
-
Step 5
Put a round ball on the tip of every arm.
-
Step 6
Draw a little star in the center, a dot in each ball and a few sparkles around. Your snowflake is ready to color!
-
Now color it!
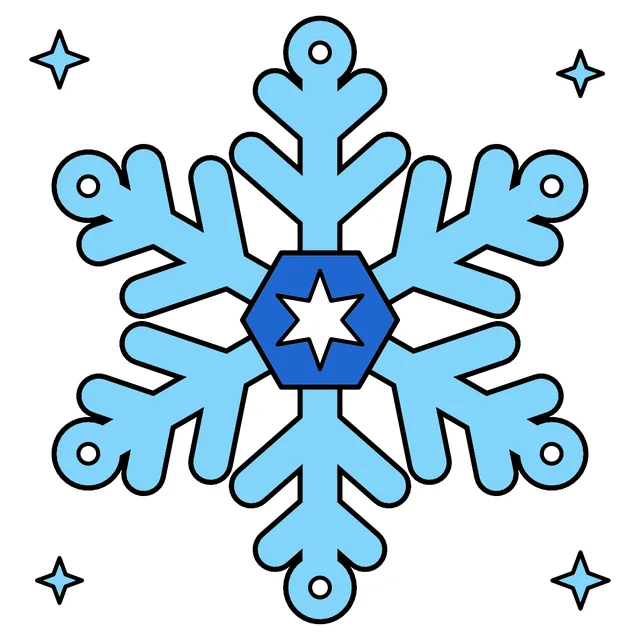
Color the six arms light blue and the hexagon in the middle a deeper blue. Keep the little star and the dots in the balls white so they shine like ice. Silver glitter makes it sparkle!
Free printable drawing worksheet
Print all the steps on one page, then practice on the tracing sheet and finish with the coloring page. Perfect for art class, homeschool or a rainy afternoon.
Download the worksheetTips for a better snowflake drawing
- Draw three long crossing lines first, lightly in pencil, so all six arms are evenly spaced.
- Finish one arm, then copy the same branches onto the other five.
- Turn your paper as you draw each arm, so you always draw it the same way.
4 ways to make your snowflake drawing unique
- Cut out your snowflake and hang it in a window.
- Draw a whole snowstorm of snowflakes in different sizes.
- Invent your own branch shapes: hearts, diamonds or little circles.
- Make a winter card with a big snowflake on the front.
Coloring your snowflake drawing
Once your drawing is finished, go over the pencil lines with a black marker or fine-liner and erase any leftover pencil. Then grab crayons, colored pencils or markers. Start with the biggest areas first and finish with the small details. Not sure which colors to use? Look at the colored example under the last step: it also prints on the steps page of the PDF. Not in the mood to draw? Print our ready-made snowflake drawing at the top of this page and jump straight to coloring.
Fun facts about snowflakes
- Almost every snowflake has six sides or six arms, because of the way water freezes.
- Wilson Bentley took the first close-up photo of a single snowflake in 1885.
Your snowflake drawing is complete!
Great job! Every time you practice, your lines get smoother and your shapes more confident, so try drawing it again from memory tomorrow. Print the free worksheet to practice with the tracing page, and check out our other easy drawing guides below.
More drawing guides