Cake Drawing: Free Printable & Easy Step-by-Step
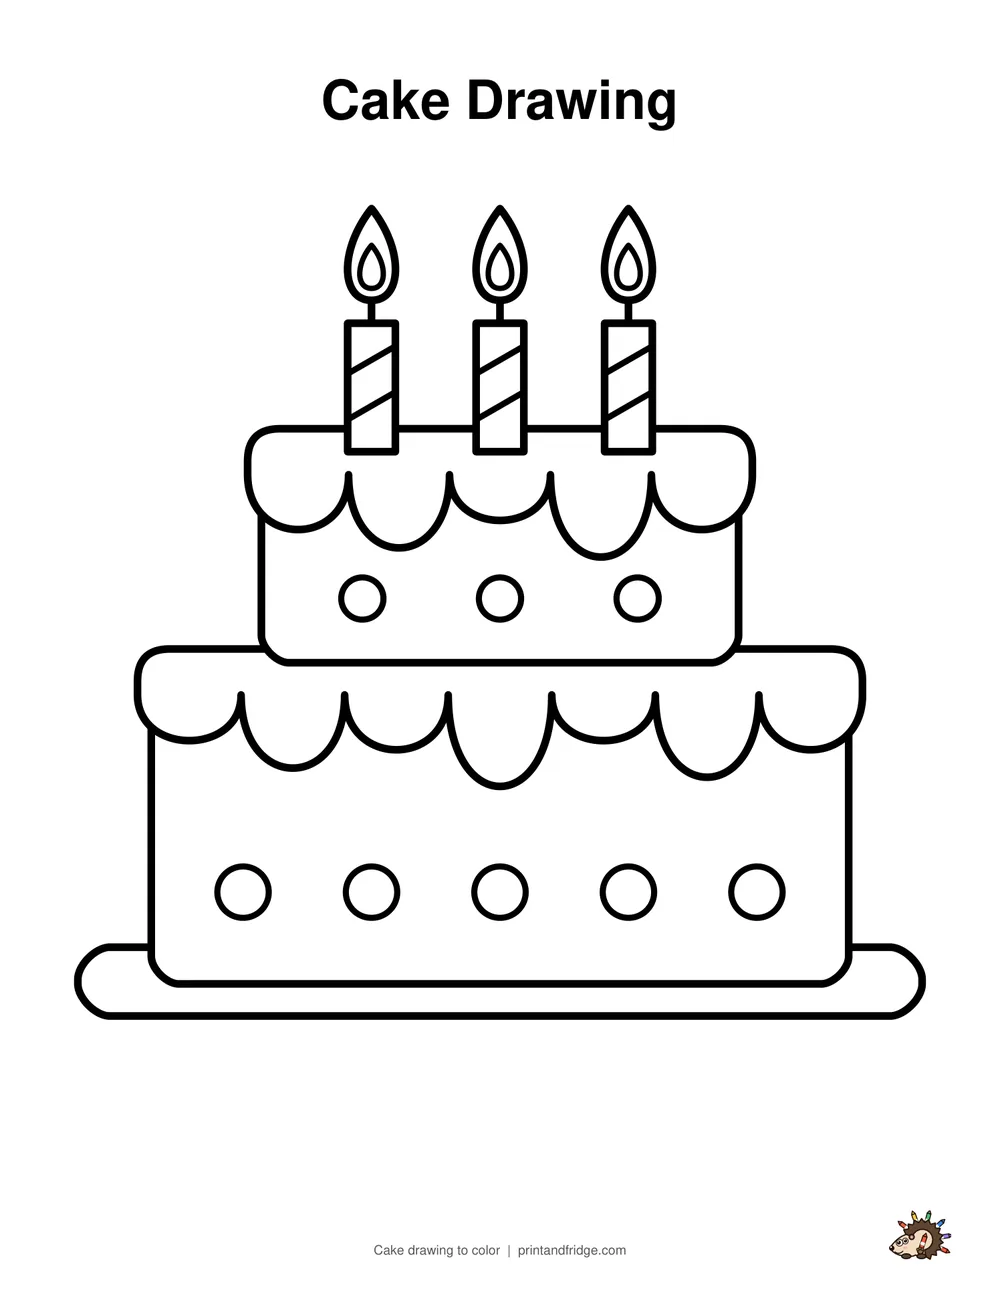
Need a cake drawing to print? Download the one below for free, ready to color, trace or copy. Want to draw it yourself? Learn how to draw a two-layer birthday cake with drippy frosting, striped candles and glowing flames. It's built from simple rectangles, so even young kids can follow along. Free printable worksheet included.
- Printable
- 2-page PDF: the drawing to color + all 6 steps and a colored example on one page (US Letter / A4)
- Worksheet
- 3-page PDF: all steps, a tracing page and a coloring page
- You need
- Pencil, eraser, crayons or markers
- Ages
- 5 and up
More cake drawings to print and color
All birthday coloring pages →


How to Draw a Cake: step-by-step instructions
The new lines in each step are shown in red.
-

Step 1
Draw a wide rectangle with rounded corners. This is the bottom layer of the cake.
-
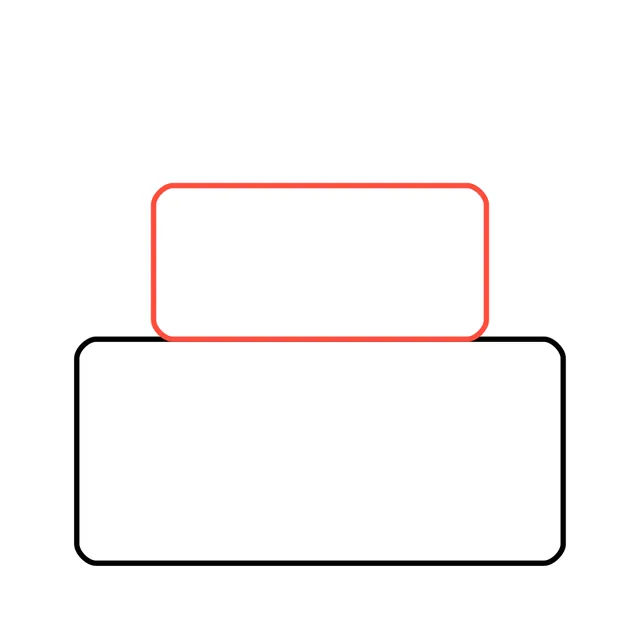
Step 2
Draw a smaller rectangle on top of it, right in the middle, for the top layer.
-
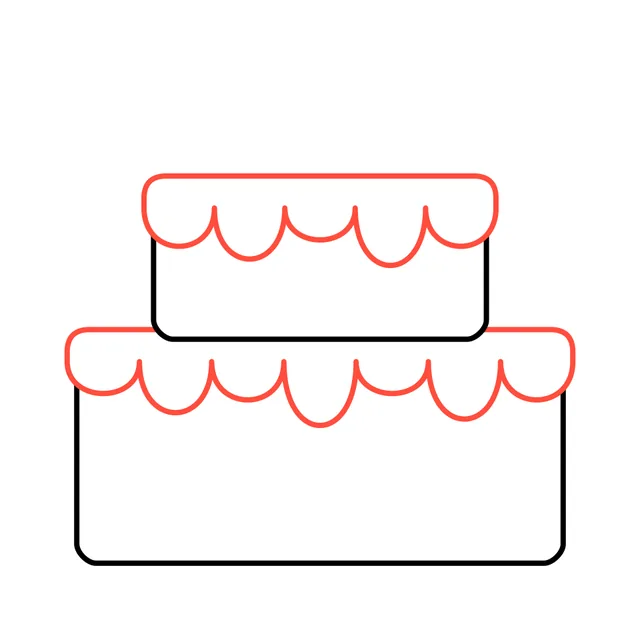
Step 3
Draw frosting on both layers: a band across the top of each one with drips hanging down.
-
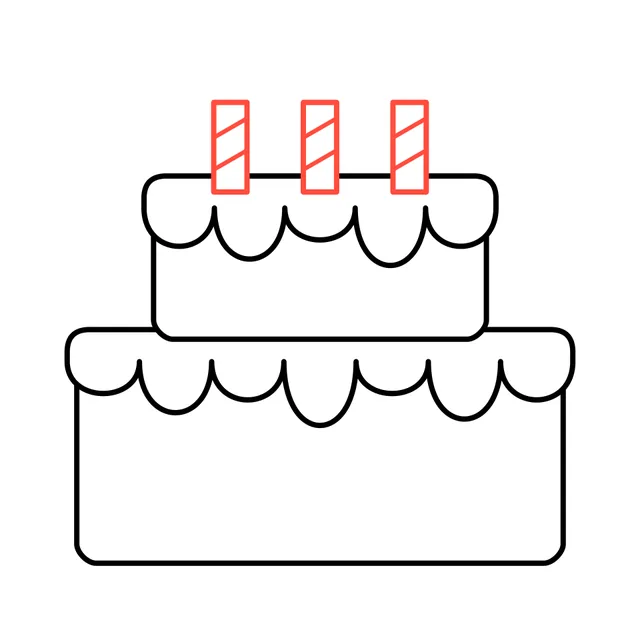
Step 4
Stand three candles on top of the cake and give each one two slanted stripes.
-
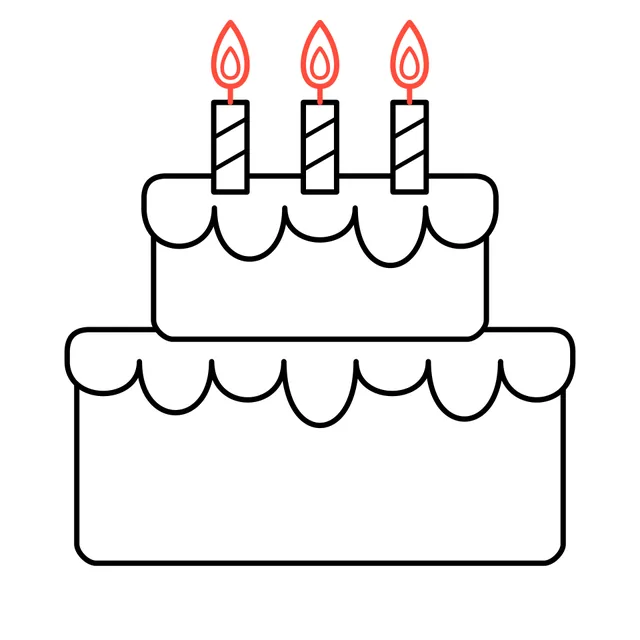
Step 5
Draw a flame on every candle, with a smaller flame inside each one.
-
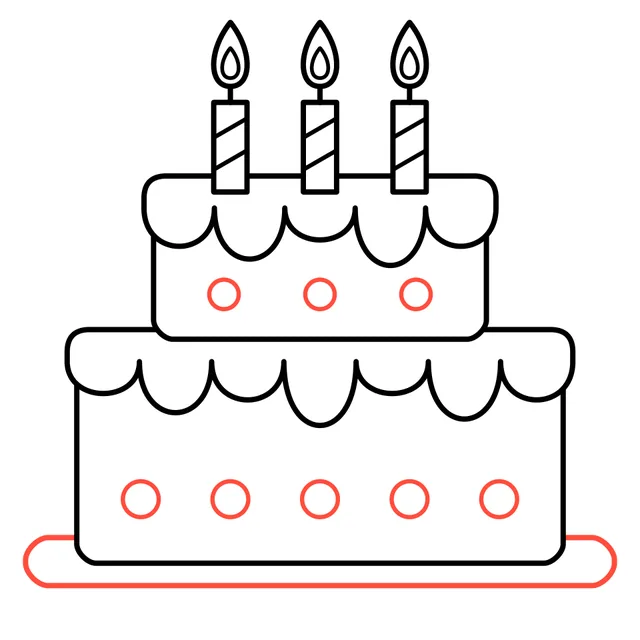
Step 6
Put the cake on a long plate and add polka dots. Make a wish and get your crayons!
-
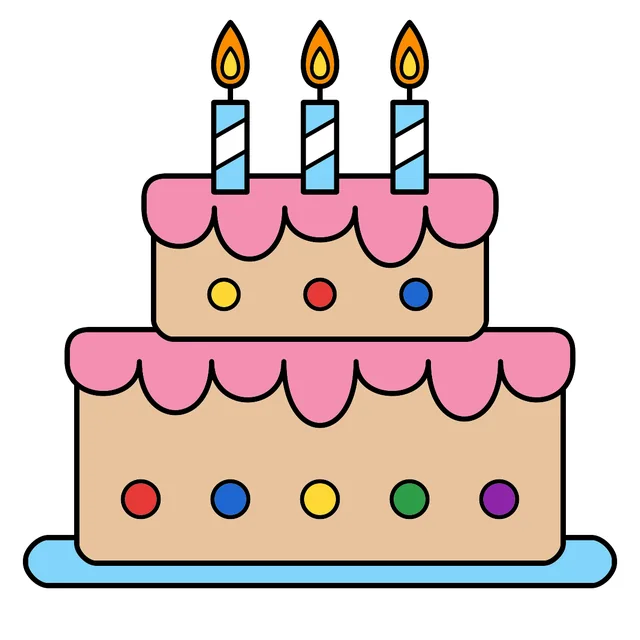
Now color it!
Color the cake layers tan like vanilla sponge and the drippy frosting pink. The candles get light blue stripes, the flames are orange with a yellow middle, and every polka dot can be a different color. The plate is light blue.
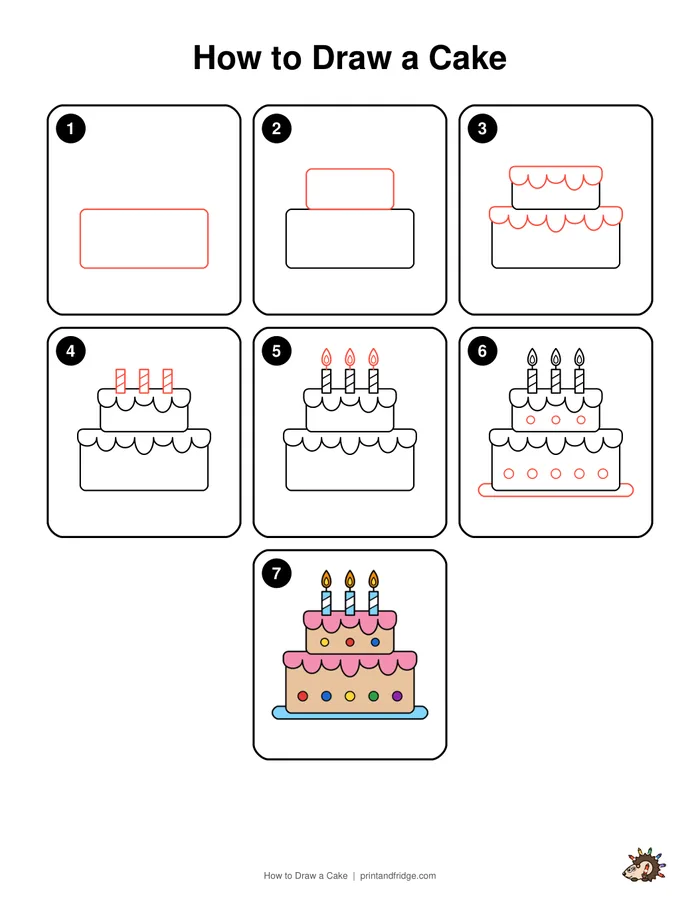
Free printable drawing worksheet
Print all the steps on one page, then practice on the tracing sheet and finish with the coloring page. Perfect for art class, homeschool or a rainy afternoon.
Download the worksheetTips for a better cake drawing
- Use a ruler for the two layers if you want sharp, straight sides.
- Make the drips different lengths: some long, some short. That makes the frosting look melty.
- Keep the candles the same height and spaced evenly so the cake looks neat.
4 ways to make your cake drawing unique
- Add the right number of candles for your age or for a friend's birthday.
- Write a name or "Happy Birthday" on the bottom layer.
- Draw balloons, party hats and presents around the cake.
- Give the cake a third layer and turn it into a giant party cake.
Coloring your cake drawing
Once your drawing is finished, go over the pencil lines with a black marker or fine-liner and erase any leftover pencil. Then grab crayons, colored pencils or markers. Start with the biggest areas first and finish with the small details. Not sure which colors to use? Look at the colored example under the last step: it also prints on the steps page of the PDF. Not in the mood to draw? Print our ready-made cake drawing at the top of this page and jump straight to coloring.
Fun facts about cakes
- People have been putting candles on birthday cakes for more than 250 years.
- A cake with layers stacked on top of each other is called a tiered cake.
Your cake drawing is complete!
Great job! Every time you practice, your lines get smoother and your shapes more confident, so try drawing it again from memory tomorrow. Print the free worksheet to practice with the tracing page, and check out our other easy drawing guides below.
More drawing guides