Tree Drawing: Free Printable & Easy Step-by-Step
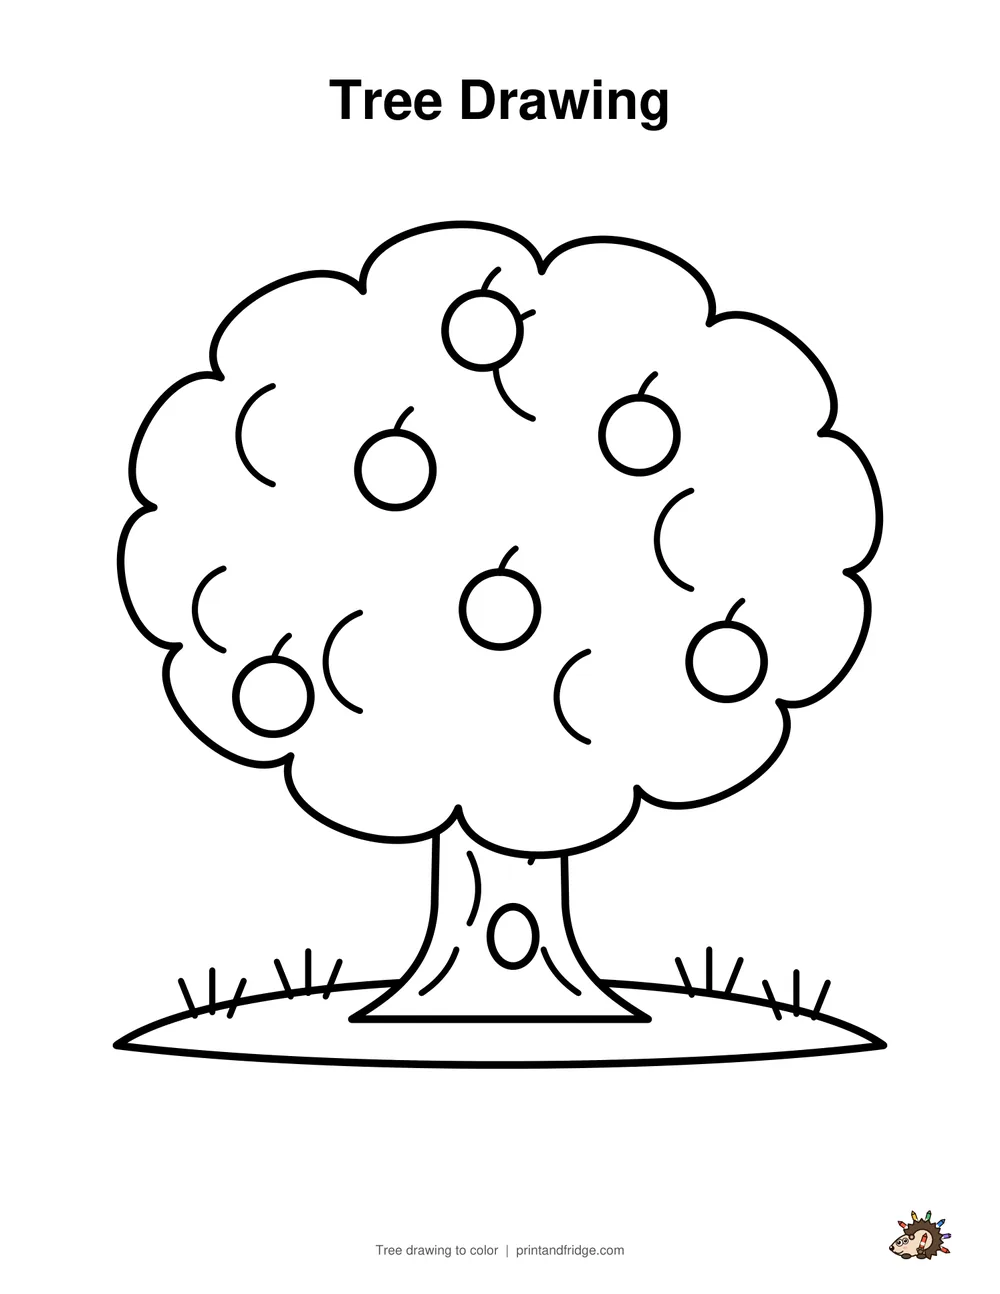
Need a tree drawing to print? Download the one below for free, ready to color, trace or copy. Want to draw it yourself? Learn how to draw a tree with a bumpy, leafy top, a strong trunk and shiny red apples. This easy tree drawing starts with one big cloud shape and takes six simple steps, with a free printable worksheet.
- Printable
- 2-page PDF: the drawing to color + all 6 steps and a colored example on one page (US Letter / A4)
- Worksheet
- 3-page PDF: all steps, a tracing page and a coloring page
- You need
- Pencil, eraser, crayons or markers
- Ages
- 5 and up
More tree drawings to print and color
All spring coloring pages →


How to Draw a Tree: step-by-step instructions
The new lines in each step are shown in red.
-

Step 1
Draw a big, bumpy cloud shape near the top of the page. This is the leafy top of the tree.
-
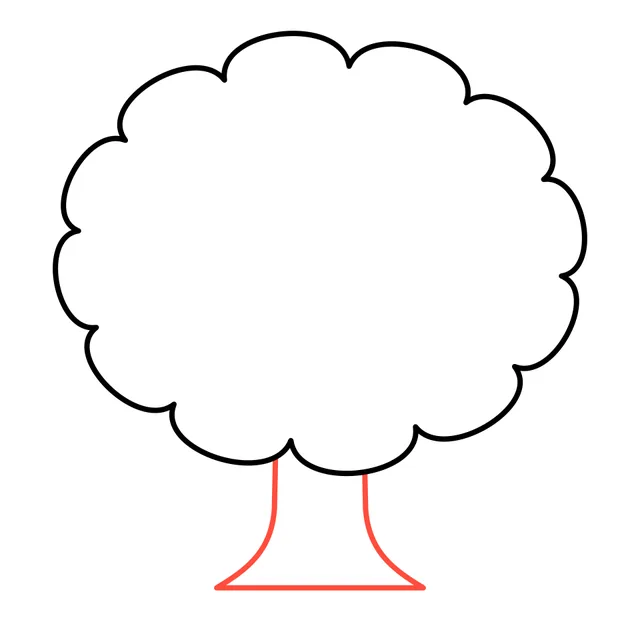
Step 2
Draw the trunk under the leaves: two straight lines that spread out at the bottom like roots.
-
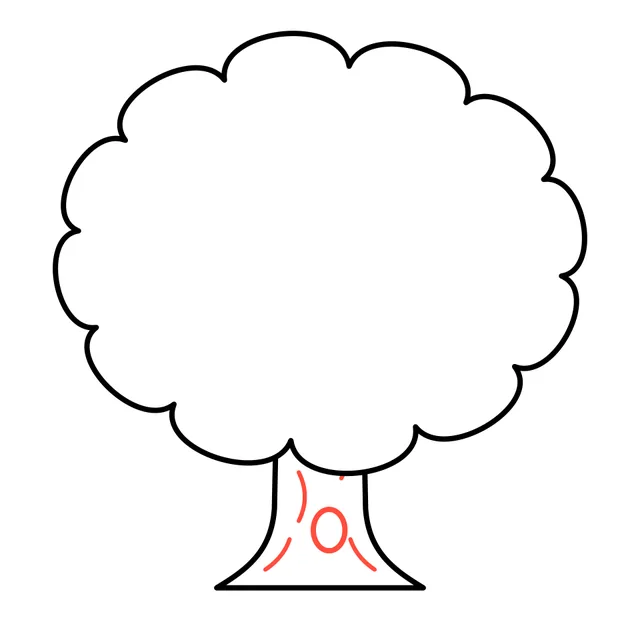
Step 3
Add a few bark lines and a little round knot hole on the trunk.
-
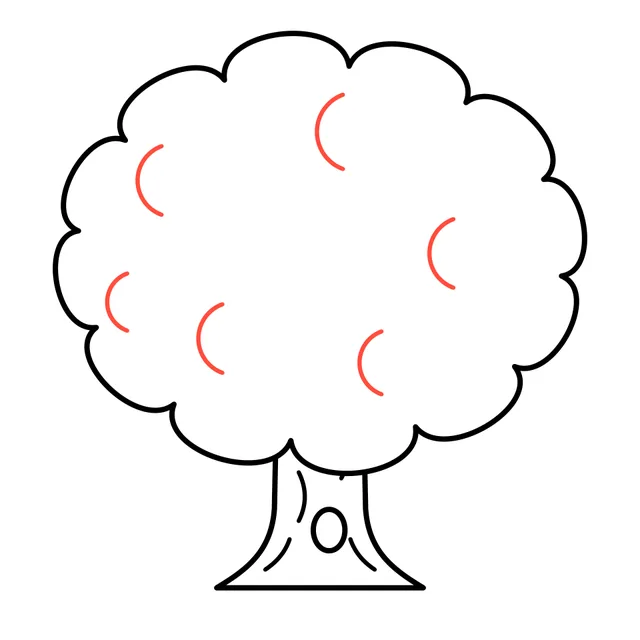
Step 4
Draw small curved lines inside the leafy top so it looks full of leaves.
-
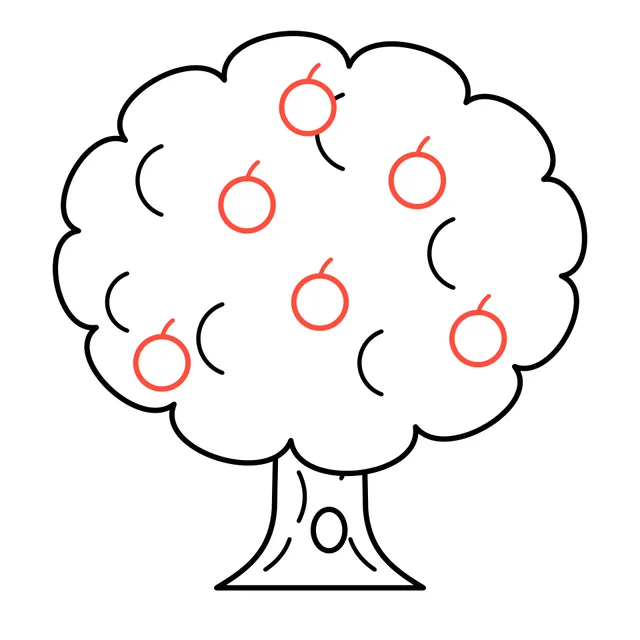
Step 5
Add round apples with tiny stems all over the leaves.
-
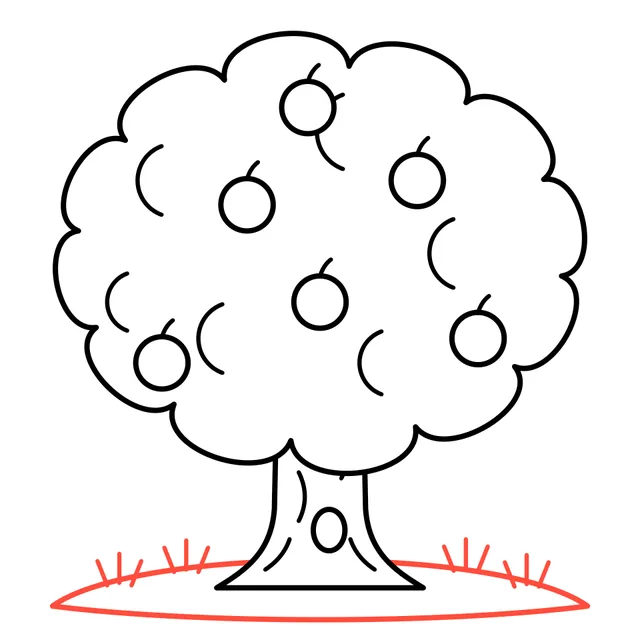
Step 6
Finish with a small grassy hill under the tree. Your apple tree is ready to color!
-
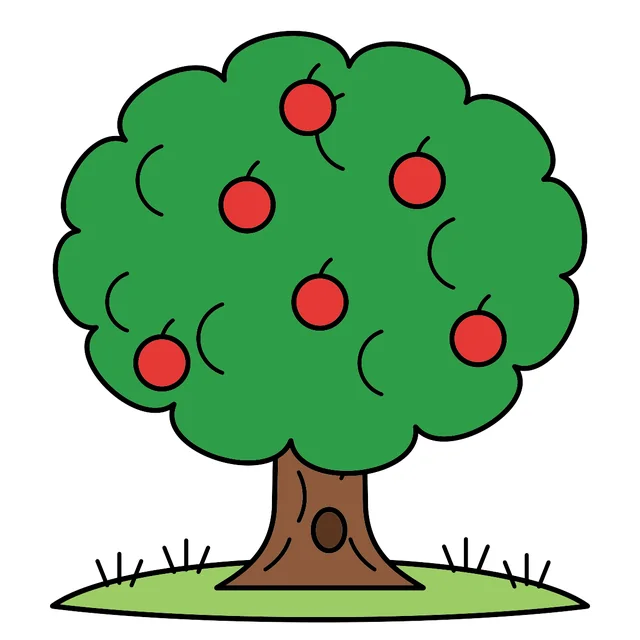
Now color it!
Color the leafy top green and the apples bright red. The trunk is brown with a dark brown knot hole, and the little hill is light green. In fall, try orange and yellow leaves instead!
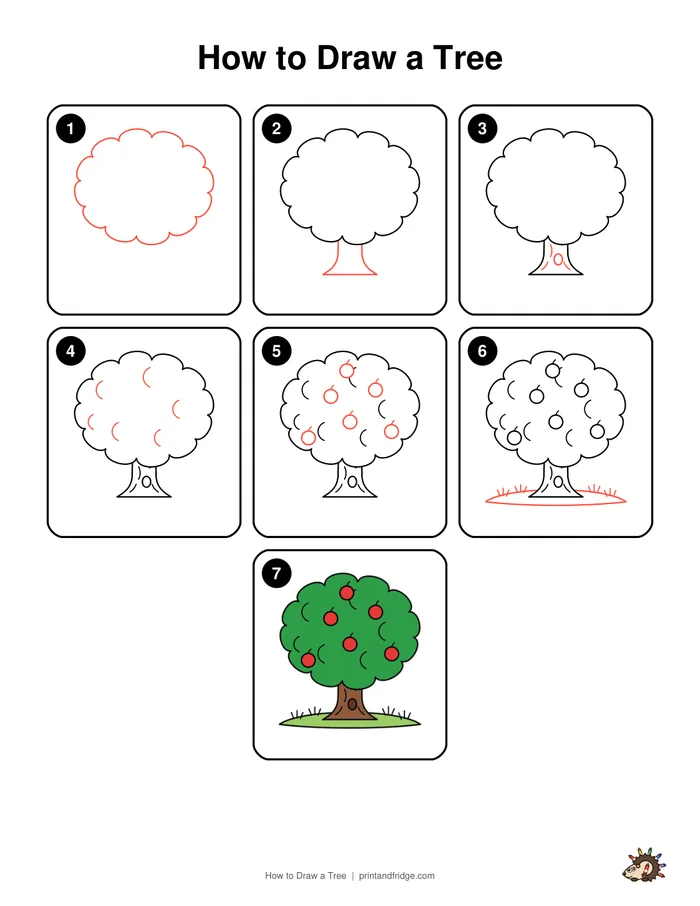
Free printable drawing worksheet
Print all the steps on one page, then practice on the tracing sheet and finish with the coloring page. Perfect for art class, homeschool or a rainy afternoon.
Download the worksheetTips for a better tree drawing
- Make the bumps on the leafy top different sizes so the tree looks natural.
- Keep the trunk narrow at the top and wider at the bottom, where the roots spread out.
- Draw the apples after the leaf curls so they sit on top and do not cross the lines.
4 ways to make your tree drawing unique
- Draw the same tree four times and color it for spring, summer, fall and winter.
- Hang a tire swing from a branch.
- Swap the apples for oranges, cherries or pink blossoms.
- Add a birdhouse on the trunk and a picnic blanket under the tree.
Coloring your tree drawing
Once your drawing is finished, go over the pencil lines with a black marker or fine-liner and erase any leftover pencil. Then grab crayons, colored pencils or markers. Start with the biggest areas first and finish with the small details. Not sure which colors to use? Look at the colored example under the last step: it also prints on the steps page of the PDF. Not in the mood to draw? Print our ready-made tree drawing at the top of this page and jump straight to coloring.
Fun facts about trees
- You can tell how old a tree is by counting the rings inside its trunk: one ring for each year.
- Coast redwoods in California are the tallest trees in the world, some taller than 350 feet.
Your tree drawing is complete!
Great job! Every time you practice, your lines get smoother and your shapes more confident, so try drawing it again from memory tomorrow. Print the free worksheet to practice with the tracing page, and check out our other easy drawing guides below.
More drawing guides