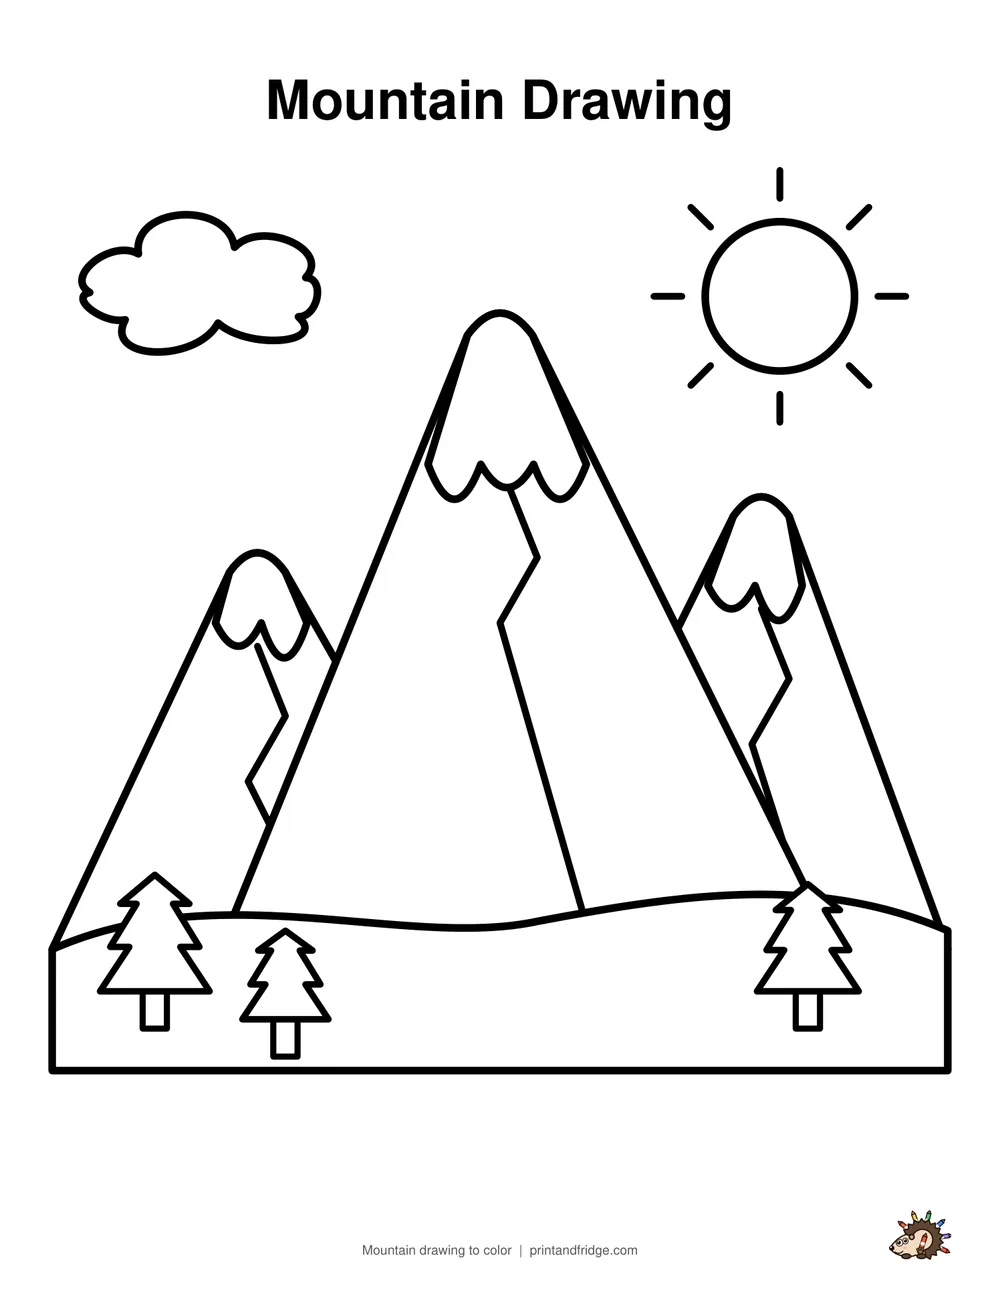
Mountain Drawing: Free Printable & Easy Step-by-Step
Need a mountain drawing to print? Download the one below for free, ready to color, trace or copy. Want to draw it yourself? Learn how to draw mountains with snowy peaks, sunny and shady sides, a bright sun and little pine trees. It all starts with a big triangle: six easy steps and a free printable worksheet.
- Printable
- 2-page PDF: the drawing to color + all 6 steps and a colored example on one page (US Letter / A4)
- Worksheet
- 3-page PDF: all steps, a tracing page and a coloring page
- You need
- Pencil, eraser, crayons or markers
- Ages
- 5 and up
More mountain drawings to print and color
All winter coloring pages →


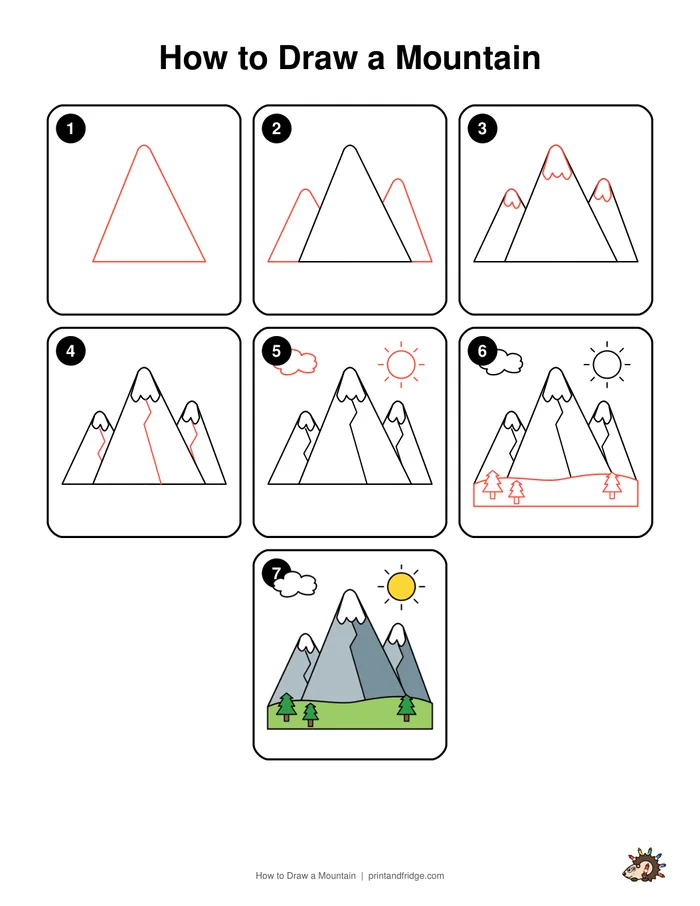
How to Draw a Mountain: step-by-step instructions
The new lines in each step are shown in red.
-
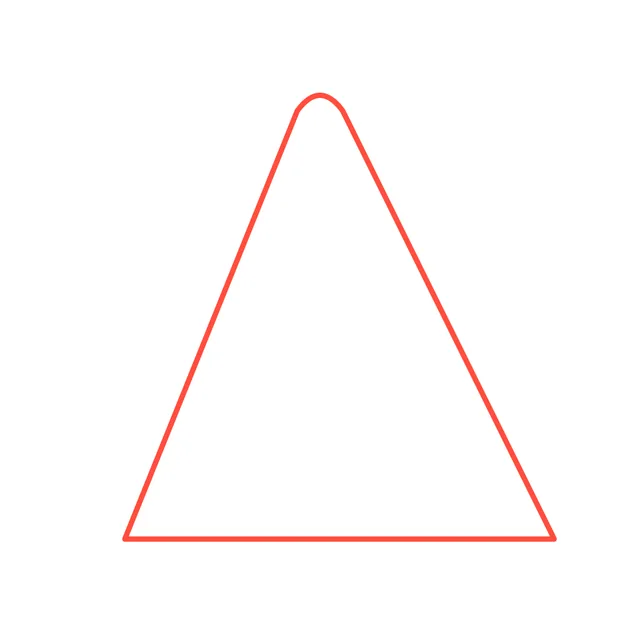
Step 1
Draw a big, tall triangle with a slightly rounded top. This is the highest mountain.
-
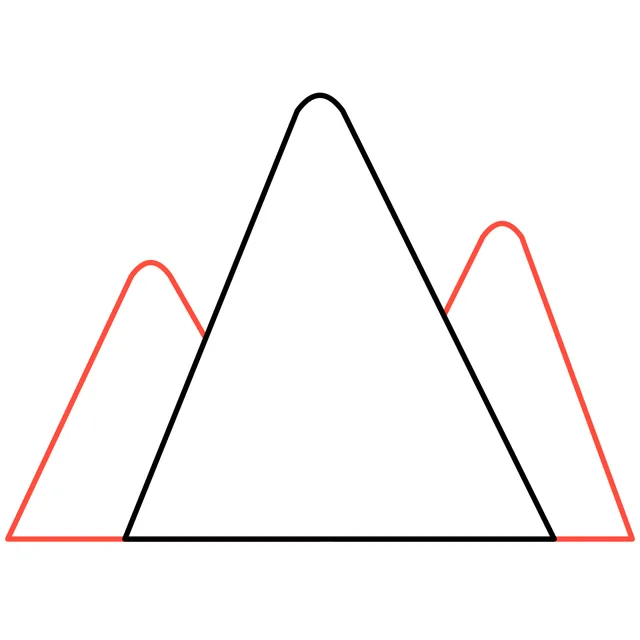
Step 2
Draw two smaller mountains behind it, one on each side.
-
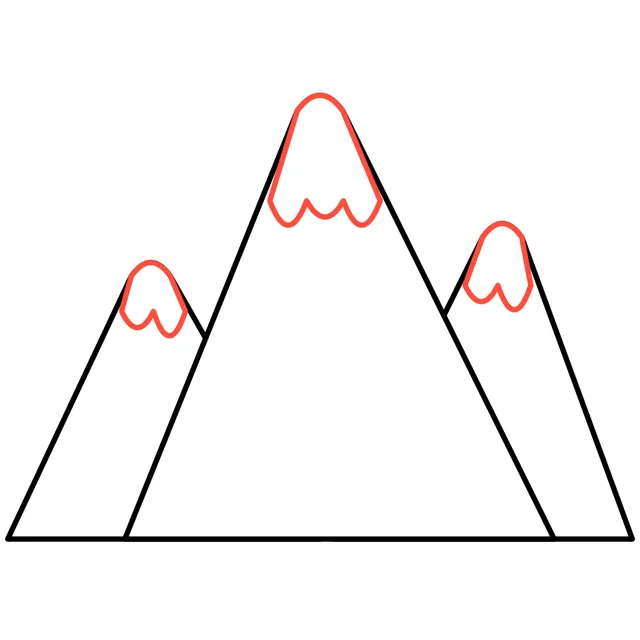
Step 3
Near the top of each mountain, draw a wavy line from side to side. The part above it is the snow.
-
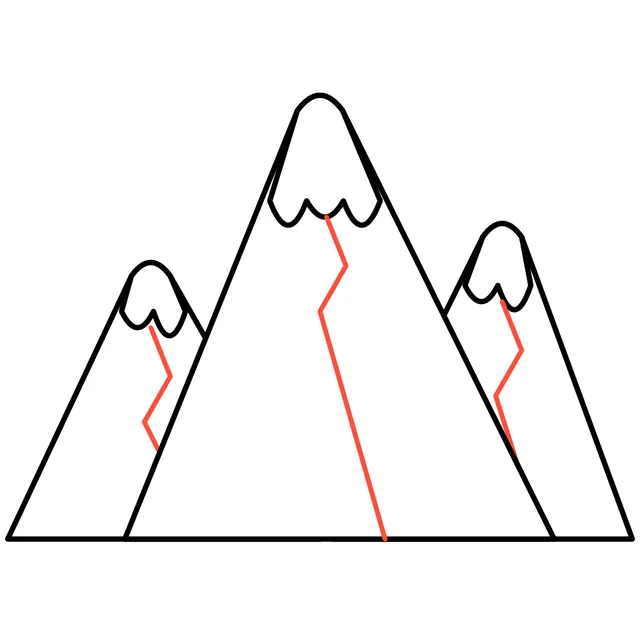
Step 4
Draw a zigzag line from each snowcap down to the bottom. This splits each mountain into a sunny side and a shady side.
-
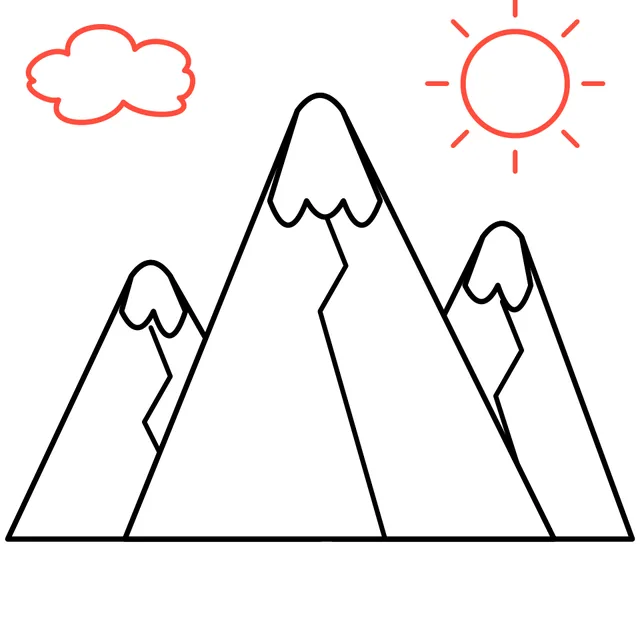
Step 5
Add a shining sun and a fluffy cloud in the sky.
-
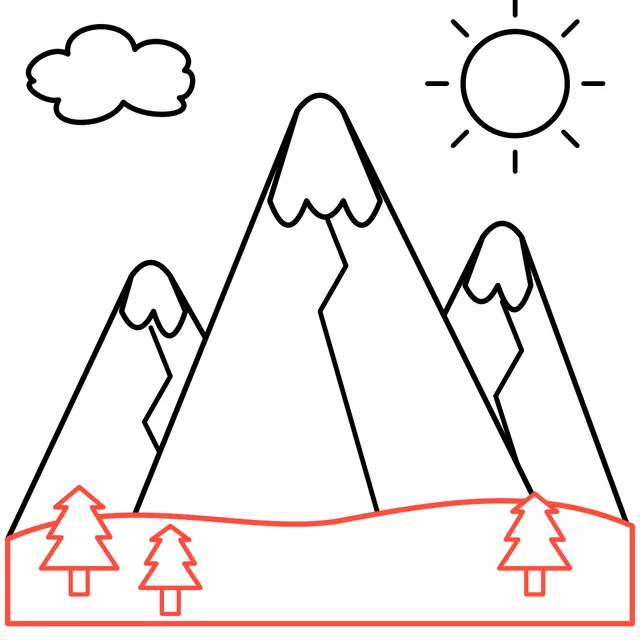
Step 6
Draw a green hill in front with a few little pine trees. Your mountains are ready to color!
-
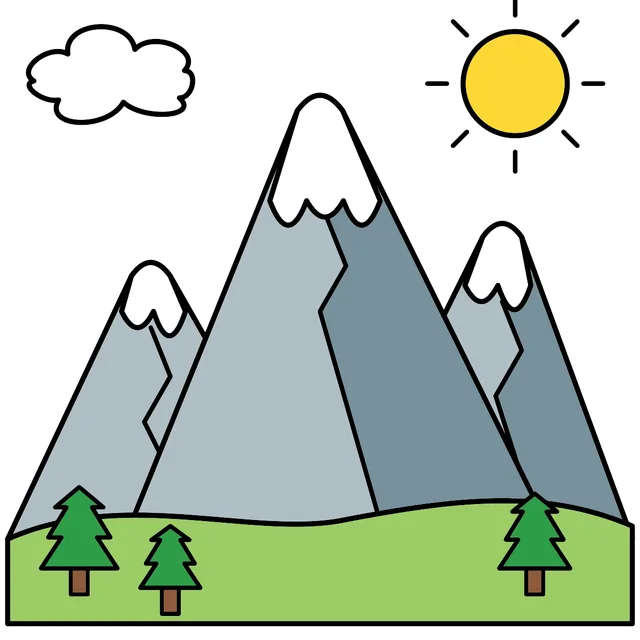
Now color it!
Color the sunny side of each mountain light gray-blue and the shady side a darker gray-blue. The snowy tops and the cloud stay white, the sun is yellow, the hill light green and the pine trees green.
Free printable drawing worksheet
Print all the steps on one page, then practice on the tracing sheet and finish with the coloring page. Perfect for art class, homeschool or a rainy afternoon.
Download the worksheetTips for a better mountain drawing
- Make the front mountain the tallest so it looks closest to you.
- Draw the snow line wavy, like melted frosting dripping down.
- The zigzag ridge line does not need to be straight: small bends look more like rock.
4 ways to make your mountain drawing unique
- Draw a winding road or a river coming down between the mountains.
- Add a little cabin with smoke coming out of the chimney.
- Turn it into a night scene with a moon and stars.
- Draw a hot air balloon floating over the peaks.
Coloring your mountain drawing
Once your drawing is finished, go over the pencil lines with a black marker or fine-liner and erase any leftover pencil. Then grab crayons, colored pencils or markers. Start with the biggest areas first and finish with the small details. Not sure which colors to use? Look at the colored example under the last step: it also prints on the steps page of the PDF. Not in the mood to draw? Print our ready-made mountain drawing at the top of this page and jump straight to coloring.
Fun facts about mountains
- Mount Everest is the highest mountain above sea level, about 29,000 feet tall.
- Mountain tops stay snowy because the air gets colder the higher up you go.
Your mountain drawing is complete!
Great job! Every time you practice, your lines get smoother and your shapes more confident, so try drawing it again from memory tomorrow. Print the free worksheet to practice with the tracing page, and check out our other easy drawing guides below.
More drawing guides