Mushroom Drawing: Free Printable & Easy Step-by-Step
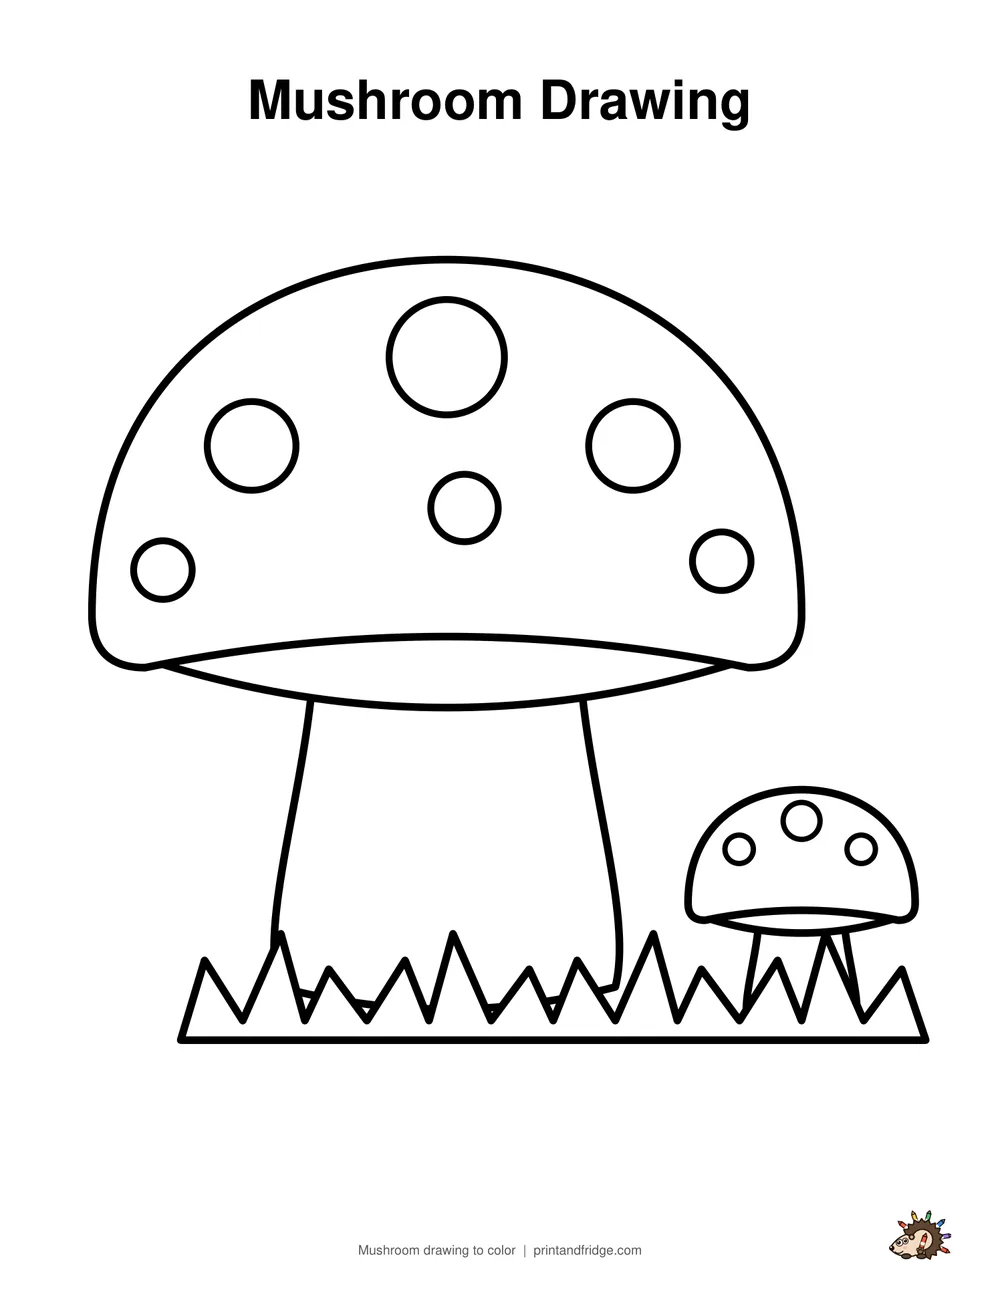
Need a mushroom drawing to print? Download the one below for free, ready to color, trace or copy. Want to draw it yourself? Learn how to draw a fairy-tale toadstool with a round spotted cap, a chunky stem and a tiny baby mushroom beside it. Six easy steps for kids and a free worksheet to practice.
- Printable
- 2-page PDF: the drawing to color + all 6 steps and a colored example on one page (US Letter / A4)
- Worksheet
- 3-page PDF: all steps, a tracing page and a coloring page
- You need
- Pencil, eraser, crayons or markers
- Ages
- 5 and up
More mushroom drawings to print and color
All fairy coloring pages →


How to Draw a Mushroom: step-by-step instructions
The new lines in each step are shown in red.
-
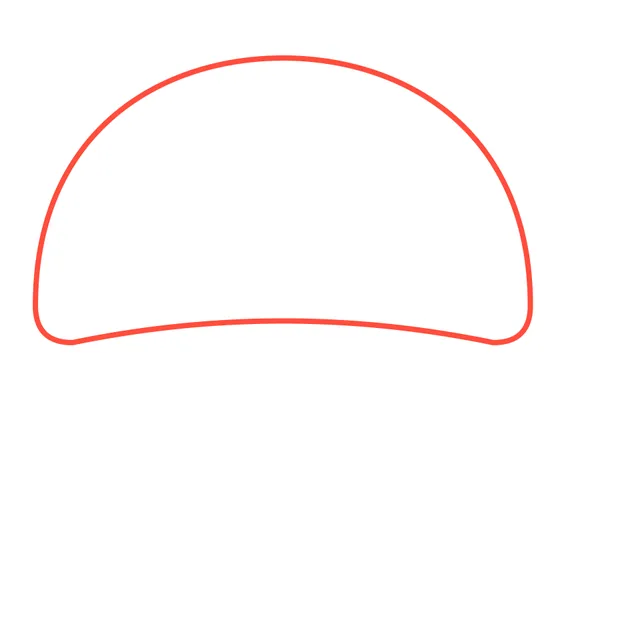
Step 1
Draw a big dome for the mushroom cap, like half of a ball. Make the bottom edge curve up a little in the middle.
-
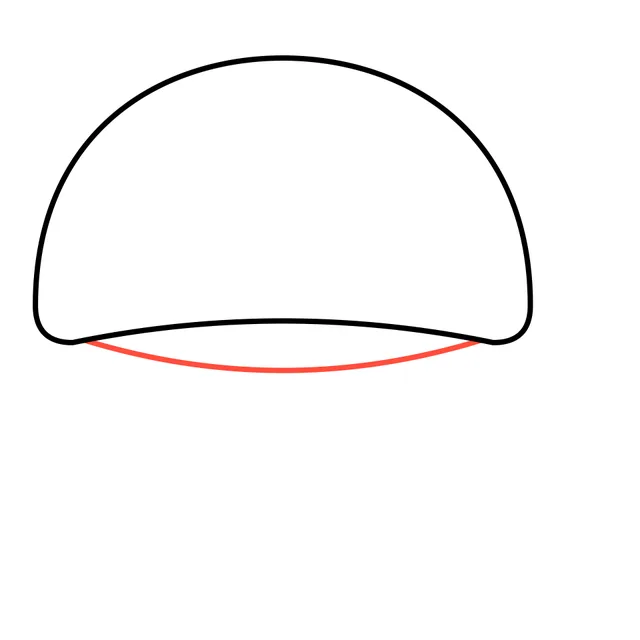
Step 2
Draw a thin curved strip under the cap. This is the underside of the mushroom.
-
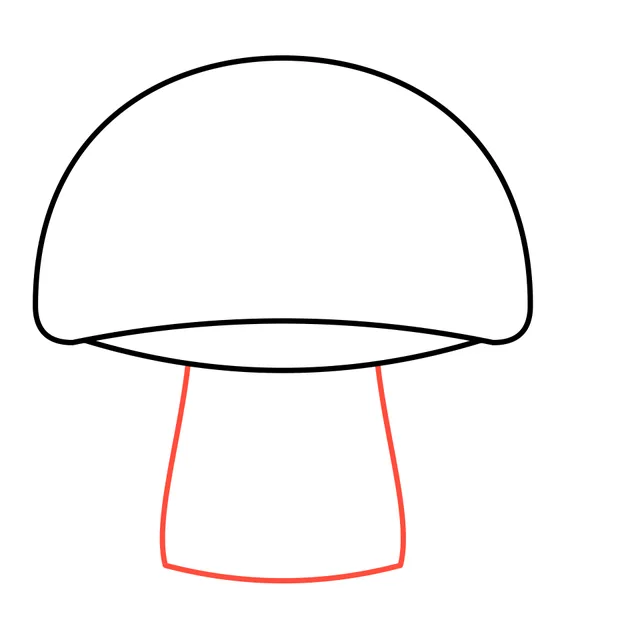
Step 3
Draw a thick stem going down from the middle. Make it a bit wider at the bottom.
-
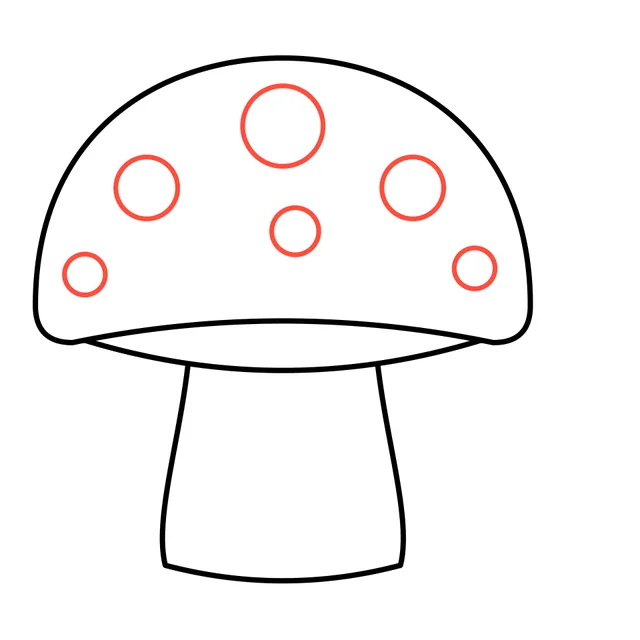
Step 4
Draw round spots on the cap: one big one on top and smaller ones around it.
-
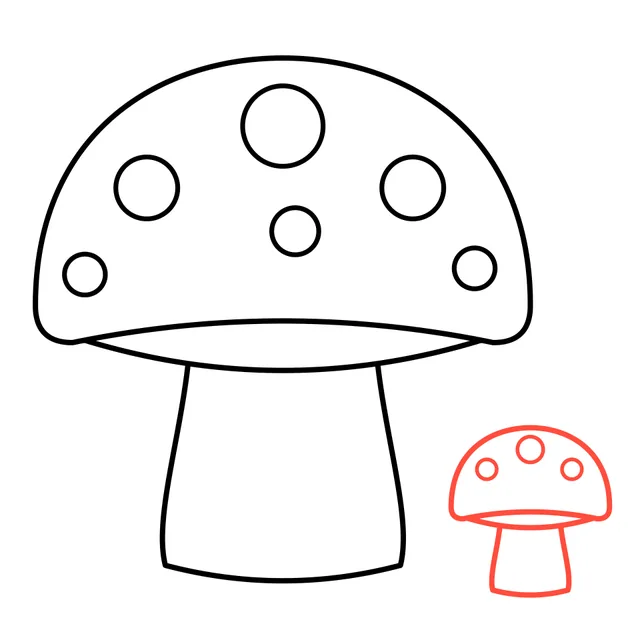
Step 5
Draw a tiny baby mushroom next to the big one, with a dome, a stem and three spots.
-
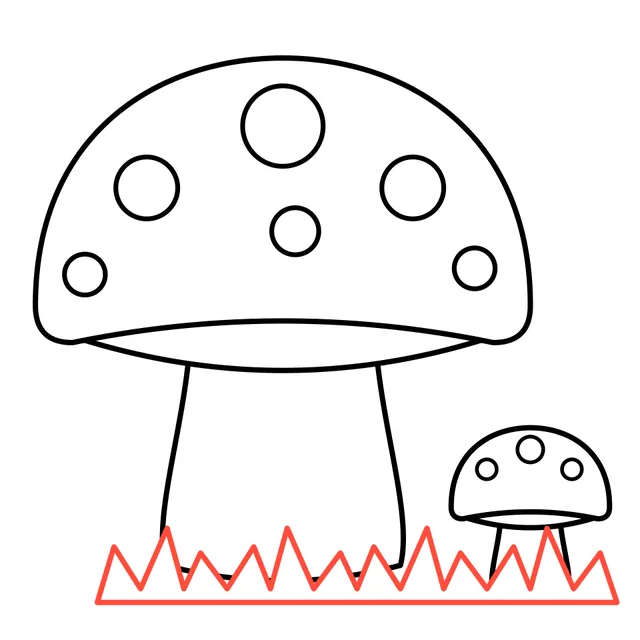
Step 6
Finish with a patch of pointy grass at the bottom. Your toadstool is ready for color!
-
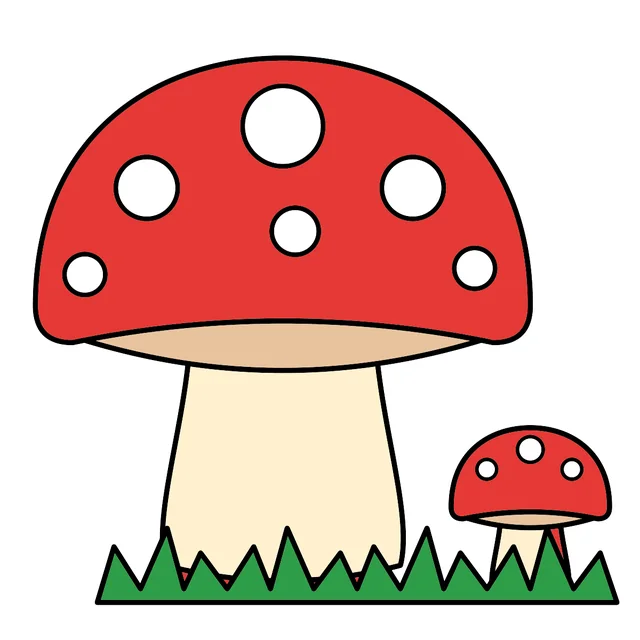
Now color it!
Color both caps bright red and leave the spots white, like a fairy-tale toadstool. The underside is tan, the stems are a soft cream color, and the grass is green.
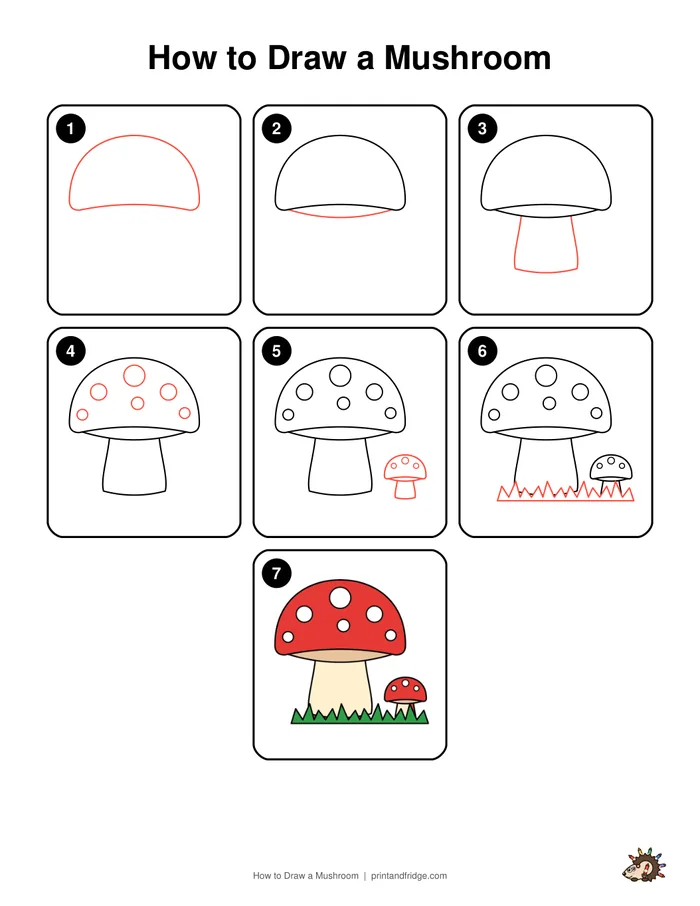
Free printable drawing worksheet
Print all the steps on one page, then practice on the tracing sheet and finish with the coloring page. Perfect for art class, homeschool or a rainy afternoon.
Download the worksheetTips for a better mushroom drawing
- Make the cap much wider than the stem, like an open umbrella.
- Draw the spots in different sizes. Big and small spots together look more natural.
- Let the stem get a little wider at the bottom so the mushroom stands steady.
4 ways to make your mushroom drawing unique
- Draw a fairy door and a tiny window in the stem to turn it into a mushroom house.
- Make a whole ring of mushrooms growing in the grass.
- Draw mushrooms with different caps: tall, flat and round.
- Add falling leaves and acorns around your toadstool for a fall picture.
Coloring your mushroom drawing
Once your drawing is finished, go over the pencil lines with a black marker or fine-liner and erase any leftover pencil. Then grab crayons, colored pencils or markers. Start with the biggest areas first and finish with the small details. Not sure which colors to use? Look at the colored example under the last step: it also prints on the steps page of the PDF. Not in the mood to draw? Print our ready-made mushroom drawing at the top of this page and jump straight to coloring.
Fun facts about mushrooms
- Mushrooms are not plants. They belong to a group of living things called fungi.
- The red mushroom with white spots is called a fly agaric. It is poisonous, so never pick or eat wild mushrooms.
Your mushroom drawing is complete!
Great job! Every time you practice, your lines get smoother and your shapes more confident, so try drawing it again from memory tomorrow. Print the free worksheet to practice with the tracing page, and check out our other easy drawing guides below.
More drawing guides